
A Practical Photography Workflow for Teachers
A Practical Photography Workflow for Teachers

Article by
Milo
ESL Content Coordinator & Educator
ESL Content Coordinator & Educator
All Posts
A clear classroom photograph can explain a process faster than a long set of instructions. It might show how to arrange a science experiment, label a classroom library, or use a visual schedule. Teachers who make their own images can build more relevant resources, but taking the picture is only one part of the job. Planning, permissions, editing, organizing, and sharing all matter too.
A simple workflow helps teachers create useful images without turning every lesson into a photography project. It also makes it easier to reuse the work in slides, handouts, classroom pages, and professional articles.
Still grading everything by hand?
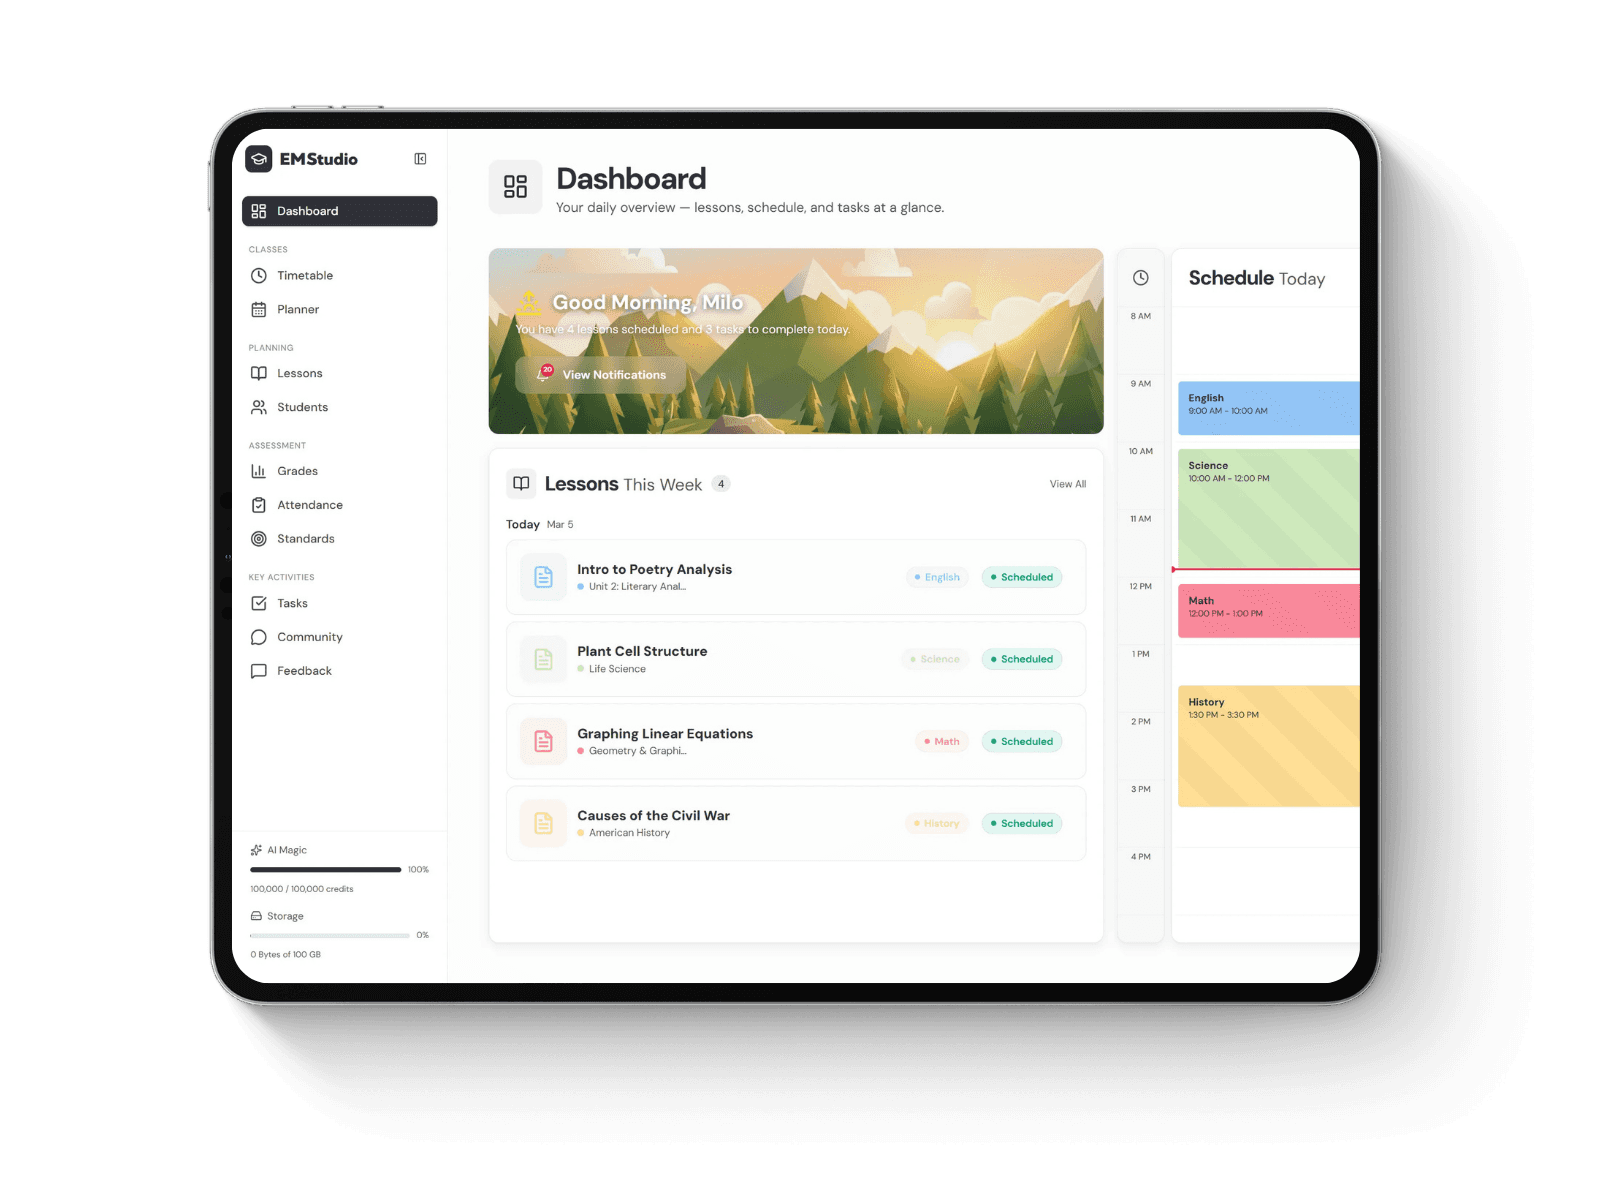
EMStudio is a free teaching management app — manage your classes, students, lessons, and more!
Learn More
Still grading everything by hand?
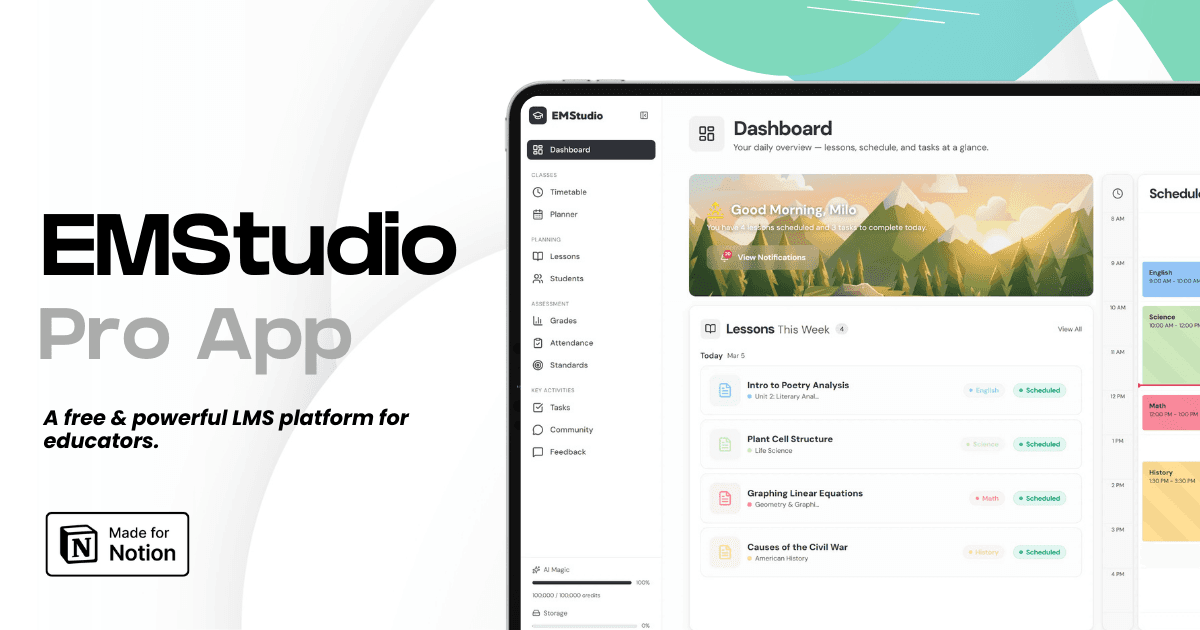
EMStudio is a free teaching management app — manage your classes, students, lessons, and more!
Learn More
Table of Contents
Begin With the Learning Purpose
Before reaching for a camera, decide what the image should help students understand or do. A photograph can introduce a topic, make a sequence easier to follow, provide evidence for an observation, or offer a visual prompt for discussion. Naming the purpose first helps avoid collecting attractive pictures that do not support the lesson.
For a procedure, think about which steps are difficult to explain in words. A set of close-up images might show how to handle a tool safely or how to sort materials. For a writing prompt, one well-composed image may be enough to give students details to notice and describe.
Consider the age group and context as well. Younger learners may benefit from a simple image with one clear focus. Older students can use more complex photographs to compare viewpoints, interpret evidence, or discuss how framing affects meaning.
Make Classroom Photos Clear and Usable
Good classroom photography does not require expensive equipment. A phone camera can produce images suitable for many teaching resources, especially when the subject is well lit and the camera is steady. Window light often works better than a bright ceiling lamp, which can create glare on paper or equipment.
Before taking a picture, remove distractions from the frame and check what appears in the background. Move closer rather than relying on a heavy digital zoom. If students need to see a small detail, take a close-up and a wider image that shows where the detail belongs.
Make a few versions from different angles. A teacher preparing a set of instructions may later discover that the overhead view is easier to understand than the side view. Reviewing images on a larger screen can reveal blurred text or details that were hard to notice while taking the photograph.
Protect Student Privacy
Images made at school can unintentionally reveal personal information. A photograph may include a student's face, a name on a desk, a class list on the wall, or work that identifies its author. Before sharing an image beyond the classroom, inspect the entire frame and remove or exclude anything that should not be public.
Follow school policies and obtain the permissions required for photographing or publishing students. When a resource can work without showing a child, photograph the materials, hands demonstrating a task, or a staged example instead. Use fictional names and sample work when creating demonstrations. These habits are useful even when an image is intended only for a class workspace, since links and screenshots can travel further than expected.
Organize Images for Reuse
A folder called “class photos” can become difficult to search by the end of a term. Use a consistent naming pattern that includes the subject, purpose, and date or unit. For example, “science-water-cycle-model-2025-03” is more informative than “IMG_4172.” Avoid including students' personal information in file names.
A Notion database can act as an index, with fields for image topic, lesson or unit, file location, permission notes, and whether the image is ready to publish. A teacher can add a short description and note where the photograph has already been used. The image files themselves can remain in the school's approved storage system, with Notion holding links and planning details.
Alt text is another part of making images usable. Describe the information a reader needs, rather than simply writing “photo.” For a diagram-like photograph, explain the relevant objects and their relationship. If an image is decorative and adds no instructional information, it may not need a lengthy description.
Share What You Learn With Other Educators
Teachers who develop a strong visual approach can help colleagues by explaining how they made it work: what equipment they used, how they kept students' information private, and how the images fit into a lesson. A short article with a few carefully chosen examples can be more helpful than a gallery with no explanation.
Before pitching an article, look for publications whose readers are likely to use the advice. A photography blog may be interested in practical classroom image-making, while an education publication may prefer a lesson example or a discussion of visual literacy. A directory ofphotography guest posting websites can help writers identify photography-focused outlets to research. Check each site's submission rules and audience before preparing a pitch; a relevant idea is more useful than sending the same draft everywhere.
Know When to Ask for Help
Some teachers enjoy editing images and designing materials; others would rather spend that time planning lessons. If a project needs consistent image editing, a custom illustration, or a polished resource layout, freelance support may be practical. Write a brief that specifies the audience, intended use, file formats, deadlines, and any privacy or accessibility requirements before hiring.
Clear requirements can reduce avoidable messages and revisions, which is one reasonfaster freelance hiring often begins with preparation rather than browsing. Osdire is one marketplace where buyers can find services across areas such as photography, design, writing, and video. Its order payments are held while work is underway and released after the buyer approves delivery, so it is still important to agree on the expected files and review process in advance.
A Small Start for This Week
Choose one lesson that would benefit from a visual resource. Take a small set of images, check them for clarity and privacy, then organize the usable files with descriptive names. Add a note about the learning purpose and any permissions needed. This modest routine creates resources that are easier to reuse, share responsibly, and improve over time.
Begin With the Learning Purpose
Before reaching for a camera, decide what the image should help students understand or do. A photograph can introduce a topic, make a sequence easier to follow, provide evidence for an observation, or offer a visual prompt for discussion. Naming the purpose first helps avoid collecting attractive pictures that do not support the lesson.
For a procedure, think about which steps are difficult to explain in words. A set of close-up images might show how to handle a tool safely or how to sort materials. For a writing prompt, one well-composed image may be enough to give students details to notice and describe.
Consider the age group and context as well. Younger learners may benefit from a simple image with one clear focus. Older students can use more complex photographs to compare viewpoints, interpret evidence, or discuss how framing affects meaning.
Make Classroom Photos Clear and Usable
Good classroom photography does not require expensive equipment. A phone camera can produce images suitable for many teaching resources, especially when the subject is well lit and the camera is steady. Window light often works better than a bright ceiling lamp, which can create glare on paper or equipment.
Before taking a picture, remove distractions from the frame and check what appears in the background. Move closer rather than relying on a heavy digital zoom. If students need to see a small detail, take a close-up and a wider image that shows where the detail belongs.
Make a few versions from different angles. A teacher preparing a set of instructions may later discover that the overhead view is easier to understand than the side view. Reviewing images on a larger screen can reveal blurred text or details that were hard to notice while taking the photograph.
Protect Student Privacy
Images made at school can unintentionally reveal personal information. A photograph may include a student's face, a name on a desk, a class list on the wall, or work that identifies its author. Before sharing an image beyond the classroom, inspect the entire frame and remove or exclude anything that should not be public.
Follow school policies and obtain the permissions required for photographing or publishing students. When a resource can work without showing a child, photograph the materials, hands demonstrating a task, or a staged example instead. Use fictional names and sample work when creating demonstrations. These habits are useful even when an image is intended only for a class workspace, since links and screenshots can travel further than expected.
Organize Images for Reuse
A folder called “class photos” can become difficult to search by the end of a term. Use a consistent naming pattern that includes the subject, purpose, and date or unit. For example, “science-water-cycle-model-2025-03” is more informative than “IMG_4172.” Avoid including students' personal information in file names.
A Notion database can act as an index, with fields for image topic, lesson or unit, file location, permission notes, and whether the image is ready to publish. A teacher can add a short description and note where the photograph has already been used. The image files themselves can remain in the school's approved storage system, with Notion holding links and planning details.
Alt text is another part of making images usable. Describe the information a reader needs, rather than simply writing “photo.” For a diagram-like photograph, explain the relevant objects and their relationship. If an image is decorative and adds no instructional information, it may not need a lengthy description.
Share What You Learn With Other Educators
Teachers who develop a strong visual approach can help colleagues by explaining how they made it work: what equipment they used, how they kept students' information private, and how the images fit into a lesson. A short article with a few carefully chosen examples can be more helpful than a gallery with no explanation.
Before pitching an article, look for publications whose readers are likely to use the advice. A photography blog may be interested in practical classroom image-making, while an education publication may prefer a lesson example or a discussion of visual literacy. A directory ofphotography guest posting websites can help writers identify photography-focused outlets to research. Check each site's submission rules and audience before preparing a pitch; a relevant idea is more useful than sending the same draft everywhere.
Know When to Ask for Help
Some teachers enjoy editing images and designing materials; others would rather spend that time planning lessons. If a project needs consistent image editing, a custom illustration, or a polished resource layout, freelance support may be practical. Write a brief that specifies the audience, intended use, file formats, deadlines, and any privacy or accessibility requirements before hiring.
Clear requirements can reduce avoidable messages and revisions, which is one reasonfaster freelance hiring often begins with preparation rather than browsing. Osdire is one marketplace where buyers can find services across areas such as photography, design, writing, and video. Its order payments are held while work is underway and released after the buyer approves delivery, so it is still important to agree on the expected files and review process in advance.
A Small Start for This Week
Choose one lesson that would benefit from a visual resource. Take a small set of images, check them for clarity and privacy, then organize the usable files with descriptive names. Add a note about the learning purpose and any permissions needed. This modest routine creates resources that are easier to reuse, share responsibly, and improve over time.
Still grading everything by hand?
EMStudio is a free teaching management app — manage your classes, students, lessons, and more!
Learn More
Still grading everything by hand?
EMStudio is a free teaching management app — manage your classes, students, lessons, and more!
Learn More


Notion4Teachers
Notion templates to simplify administrative tasks and enhance your teaching experience.



2026 Notion4Teachers. All Rights Reserved.
Notion4Teachers
Notion templates to simplify administrative tasks and enhance your teaching experience.
2026 Notion4Teachers. All Rights Reserved.
Notion4Teachers
Notion templates to simplify administrative tasks and enhance your teaching experience.
2026 Notion4Teachers. All Rights Reserved.