
How to Run a Flipped Classroom With Notion and YouTube
How to Run a Flipped Classroom With Notion and YouTube

Article by
Milo
ESL Content Coordinator & Educator
ESL Content Coordinator & Educator
All Posts

A flipped classroom moves direct instruction out of class time. Students watch a short video lesson at home, then use class time for practice, discussion and problem solving with the teacher in the room. The lecture becomes homework, and the homework becomes classwork.
The approach has strong research behind it. A 2021 second-order meta-analysis in the Australasian Journal of Educational Technology combined 15 earlier meta-analyses covering 156,722 students and found an average effect size of 0.37 in favour of flipped classrooms. In plain terms, students in flipped classes performed about a third of a standard deviation better than students taught the traditional way.
The hard part is not the idea. It is the logistics: planning a sequence of videos, recording and editing them, getting them in front of students and knowing who actually watched. This guide shows how to run the whole cycle with two tools many teachers already use. Notion keeps the plan, the video library and the student check-ins in one place, and YouTube hosts the lessons so students can watch on any device.
Still grading everything by hand?
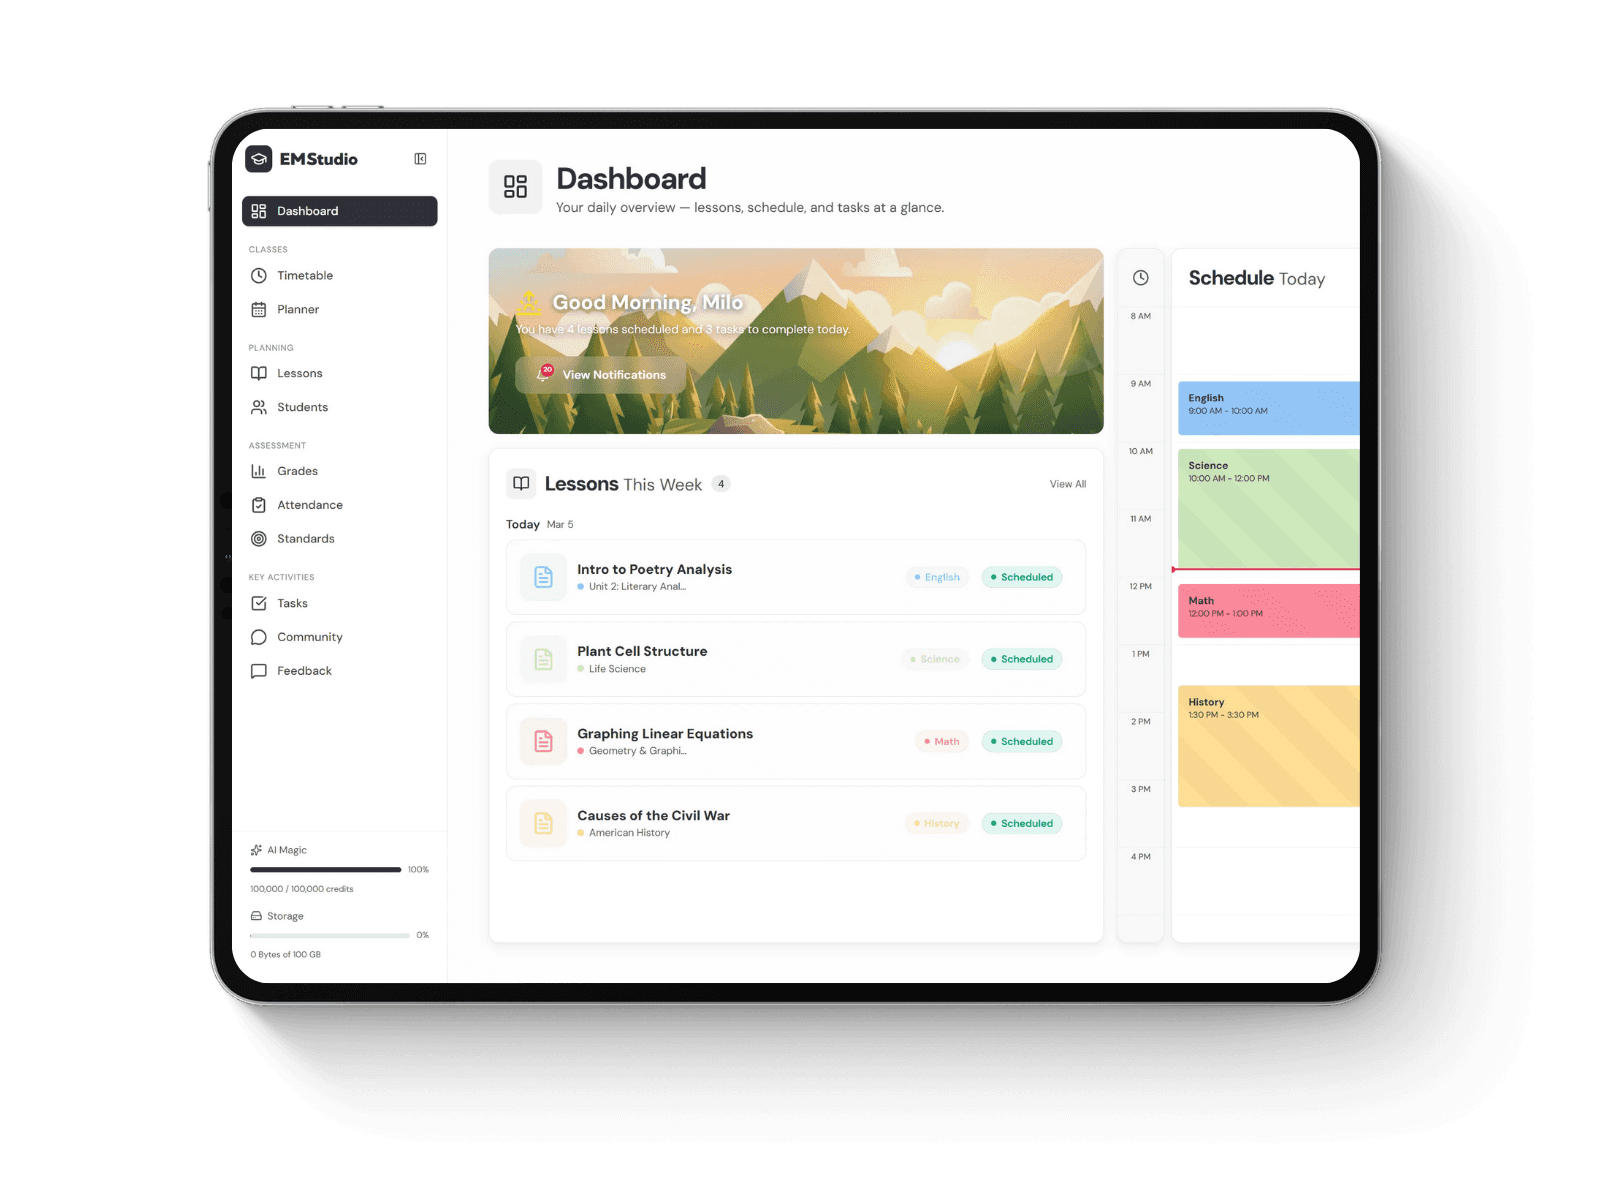
EMStudio is a free teaching management app — manage your classes, students, lessons, and more!
Learn More
Still grading everything by hand?
EMStudio is a free teaching management app — manage your classes, students, lessons, and more!
Learn More
Table of Contents
What a flipped lesson needs to work
Before you record anything, check each lesson against five requirements. Flipped lessons that skip one of these usually end with students arriving unprepared.
One clear objective per video. A video that teaches one idea is easier to watch, easier to rewatch and easier to check.
Short, focused delivery. Students watch on their own time, often on a phone. Cut anything that does not serve the objective.
Easy access. Every student needs one place to find the video, with no searching through emails or folders.
A quick check for understanding. One or two questions after the video tell you who watched and what confused them.
An active class session. The time you free up has to go to practice and discussion. Otherwise students have no reason to watch.
Traditional and flipped lessons side by side
Stage | Traditional lesson | Flipped lesson |
First contact with new content | Teacher explains in class | Student watches a short video at home |
Practice | Homework, often done alone | In class, with the teacher and peers nearby |
Where students get stuck | At home, with no one to ask | In class, where the teacher can help right away |
Pace | Set by the live lecture | Students pause, rewind and rewatch |
Teacher's role in class | Presenter | Coach and facilitator |

The flipped classroom cycle at a glance.
Step 1: Build a flipped classroom hub in Notion
Start with one Notion page that holds everything for the course. Inside it, create three linked databases:
Units: each unit, its dates and its learning goals.
Video lessons: one row per video, with properties for the objective, status (planned, recorded, edited, published), YouTube link and the related unit.
Class activities: the practice task, discussion or project that follows each video.
Linking the three databases with relation properties lets you open a unit and see every video and activity attached to it. If you are new to Notion, the getting started with Notion tutorial covers pages, databases and properties. To save setup time, the free Notion lesson planner template gives you a ready-made structure you can adapt for flipped units.
Step 2: Plan each video around one objective
Open the row for your next video and write the plan directly inside the page. A simple outline works well:
Hook: a question or example that shows why the topic matters.
Core explanation: the concept, worked through step by step.
One worked example: students see the idea applied once before they try it themselves.
Preview of class time: tell students what they will do with this idea tomorrow.
Keeping the outline in the same database as the video means your plan, script and final link live together. If you already teach these topics live, a transcript of a previous lesson is a fast starting point; this guide on using transcribed lectures for lesson planning shows how to bring that text into Notion. For more on structuring the plan itself, see how to create lesson plans in Notion.
Step 3: Record the lesson

Photo via Unsplash
You do not need a studio. Most flipped lessons fall into one of two formats:
Screen recording with voiceover: ideal for slides, worked problems and software walkthroughs. This guide to turning screen recordings into step-by-step guides covers the basics.
Talking to camera: better for discussions, demonstrations and building a personal connection with students.
Whichever format you choose, record in a quiet room, use a basic external microphone if you can and follow your outline from Step 2. Do not worry about getting a perfect take. Mistakes and pauses are easy to remove in the edit.
Step 4: Edit the video for YouTube

Photo via Unsplash
Editing is where a long recording becomes a short, watchable lesson. Focus on three jobs:
Cut dead time. Remove false starts, long pauses and tangents so the video stays on its single objective.
Add captions. Captions help students watching in noisy places, English language learners and anyone reviewing key terms.
Add chapters. Chapters let students jump straight to the part they need when they rewatch before a test.
If you do not want to learn a complex desktop program, edit the recording in a YouTube video editor such as invideo editor. It runs in the browser, removes filler, silences and flubbed takes for a first cut, and lets you delete a sentence from the transcript to cut it from the video. You can add captions automatically, drop chapter markers where the topic changes and export the timestamps already formatted for YouTube.
YouTube has a few rules for chapters: the first timestamp must start at 00:00, you need at least three timestamps in ascending order, and each chapter must be at least 10 seconds long. The full requirements are in YouTube's guide to video chapters.
Step 5: Publish on YouTube and embed the video in Notion
Upload the finished lesson to YouTube and set the visibility to Unlisted. According to YouTube's privacy settings help, unlisted videos can be seen by anyone with the link, do not appear in search and do not require viewers to have a Google account. That makes them a good fit for class videos you want students to find easily without making them public.
Paste the YouTube link into the video's row in your Notion database, then embed it on the page students see. When students open the unit page, the video plays right there, next to the objective and the check-in questions. Over time, these rows become a reusable library; this guide to building a teaching video library in Notion shows more ways to organize it.
Step 6: Check who watched and what they understood

Photo via Unsplash
The flipped model only works if students arrive prepared. Even the authors of the 2021 second-order meta-analysis on flipped classrooms point to getting students to complete pre-class work as a key area for further study. Under each embedded video, add two or three short questions: one to check the key idea and one asking what was confusing. Collect answers through a form or a simple shared database, depending on your school's rules for student data.
Review the answers before class. They tell you who needs a quick recap, which misconceptions to address first and which students are ready for harder work. Record a note in the class activity row so the plan for the session reflects what students actually understood.
Step 7: Make class time active

Photo via Unsplash
Class time is the payoff. Use it for the work students struggle with alone: practice problems, group tasks, labs, debates and projects. Move around the room, coach small groups and spend more time with the students whose check-in answers showed gaps.
The Flipped Learning Network's four pillars are a useful checklist here: a flexible environment, a learning culture centred on students, intentional content and a professional educator who observes and adjusts. If the in-class activity does not depend on the video, students will learn to skip it, so always connect the two.
Key takeaways
A flipped classroom moves instruction to short videos at home and uses class time for active practice.
Research across more than 150,000 students shows a consistent benefit for flipped classes over traditional teaching.
A Notion hub with linked Units, Video lessons and Class activities databases keeps the whole cycle organized.
Plan each video around one objective, record simply and edit out dead time.
Captions and chapters make videos easier to watch and rewatch.
Publish as Unlisted on YouTube, embed in Notion and check understanding before every class.
FAQs
How long should a flipped classroom video be?
Keep each video focused on one objective and cut anything that does not serve it. Many teachers aim for short videos that students can finish in one sitting, and split longer topics into a series.
What if some students cannot watch videos at home?
Plan an alternative, such as time to watch at the start of class, in the library or on a school device. Unlisted YouTube videos also work on most phones, which helps students without a home computer.
Should I make my videos public or unlisted on YouTube?
Unlisted is usually the better choice for class videos. Anyone with the link can watch, but the videos do not appear in search or on your channel page. Check your school's policy before posting any video that shows students.
Do I need to make all my videos myself?
No. You can mix your own videos with high-quality videos from other educators. Your own videos tend to work better for core lessons because students know your voice and the video matches your class activities exactly.
How do I know students actually watched?
Add a short check-in under each video in Notion, with one question on the key idea and one on what was confusing. Reviewing the answers before class shows you who watched and where to start the session.
Can I run a flipped classroom with a free Notion account?
Yes. Databases, relation properties and video embeds are core Notion features, so you can build this setup without a paid plan. Check Notion's pricing page for current limits, and check your school's policies if you plan to collect student responses inside Notion.
Conclusion
Running a flipped classroom is easier when every part of the cycle has a home. Plan units and videos in Notion, record and edit short lessons, publish them as unlisted YouTube videos and embed them where students already look. Then use the check-ins to shape a class session built around practice and discussion. Start with one unit, learn what works for your students and build your video library from there. Which unit will you flip first?
What a flipped lesson needs to work
Before you record anything, check each lesson against five requirements. Flipped lessons that skip one of these usually end with students arriving unprepared.
One clear objective per video. A video that teaches one idea is easier to watch, easier to rewatch and easier to check.
Short, focused delivery. Students watch on their own time, often on a phone. Cut anything that does not serve the objective.
Easy access. Every student needs one place to find the video, with no searching through emails or folders.
A quick check for understanding. One or two questions after the video tell you who watched and what confused them.
An active class session. The time you free up has to go to practice and discussion. Otherwise students have no reason to watch.
Traditional and flipped lessons side by side
Stage | Traditional lesson | Flipped lesson |
First contact with new content | Teacher explains in class | Student watches a short video at home |
Practice | Homework, often done alone | In class, with the teacher and peers nearby |
Where students get stuck | At home, with no one to ask | In class, where the teacher can help right away |
Pace | Set by the live lecture | Students pause, rewind and rewatch |
Teacher's role in class | Presenter | Coach and facilitator |
The flipped classroom cycle at a glance.
Step 1: Build a flipped classroom hub in Notion
Start with one Notion page that holds everything for the course. Inside it, create three linked databases:
Units: each unit, its dates and its learning goals.
Video lessons: one row per video, with properties for the objective, status (planned, recorded, edited, published), YouTube link and the related unit.
Class activities: the practice task, discussion or project that follows each video.
Linking the three databases with relation properties lets you open a unit and see every video and activity attached to it. If you are new to Notion, the getting started with Notion tutorial covers pages, databases and properties. To save setup time, the free Notion lesson planner template gives you a ready-made structure you can adapt for flipped units.
Step 2: Plan each video around one objective
Open the row for your next video and write the plan directly inside the page. A simple outline works well:
Hook: a question or example that shows why the topic matters.
Core explanation: the concept, worked through step by step.
One worked example: students see the idea applied once before they try it themselves.
Preview of class time: tell students what they will do with this idea tomorrow.
Keeping the outline in the same database as the video means your plan, script and final link live together. If you already teach these topics live, a transcript of a previous lesson is a fast starting point; this guide on using transcribed lectures for lesson planning shows how to bring that text into Notion. For more on structuring the plan itself, see how to create lesson plans in Notion.
Step 3: Record the lesson
Photo via Unsplash
You do not need a studio. Most flipped lessons fall into one of two formats:
Screen recording with voiceover: ideal for slides, worked problems and software walkthroughs. This guide to turning screen recordings into step-by-step guides covers the basics.
Talking to camera: better for discussions, demonstrations and building a personal connection with students.
Whichever format you choose, record in a quiet room, use a basic external microphone if you can and follow your outline from Step 2. Do not worry about getting a perfect take. Mistakes and pauses are easy to remove in the edit.
Step 4: Edit the video for YouTube
Photo via Unsplash
Editing is where a long recording becomes a short, watchable lesson. Focus on three jobs:
Cut dead time. Remove false starts, long pauses and tangents so the video stays on its single objective.
Add captions. Captions help students watching in noisy places, English language learners and anyone reviewing key terms.
Add chapters. Chapters let students jump straight to the part they need when they rewatch before a test.
If you do not want to learn a complex desktop program, edit the recording in a YouTube video editor such as invideo editor. It runs in the browser, removes filler, silences and flubbed takes for a first cut, and lets you delete a sentence from the transcript to cut it from the video. You can add captions automatically, drop chapter markers where the topic changes and export the timestamps already formatted for YouTube.
YouTube has a few rules for chapters: the first timestamp must start at 00:00, you need at least three timestamps in ascending order, and each chapter must be at least 10 seconds long. The full requirements are in YouTube's guide to video chapters.
Step 5: Publish on YouTube and embed the video in Notion
Upload the finished lesson to YouTube and set the visibility to Unlisted. According to YouTube's privacy settings help, unlisted videos can be seen by anyone with the link, do not appear in search and do not require viewers to have a Google account. That makes them a good fit for class videos you want students to find easily without making them public.
Paste the YouTube link into the video's row in your Notion database, then embed it on the page students see. When students open the unit page, the video plays right there, next to the objective and the check-in questions. Over time, these rows become a reusable library; this guide to building a teaching video library in Notion shows more ways to organize it.
Step 6: Check who watched and what they understood
Photo via Unsplash
The flipped model only works if students arrive prepared. Even the authors of the 2021 second-order meta-analysis on flipped classrooms point to getting students to complete pre-class work as a key area for further study. Under each embedded video, add two or three short questions: one to check the key idea and one asking what was confusing. Collect answers through a form or a simple shared database, depending on your school's rules for student data.
Review the answers before class. They tell you who needs a quick recap, which misconceptions to address first and which students are ready for harder work. Record a note in the class activity row so the plan for the session reflects what students actually understood.
Step 7: Make class time active
Photo via Unsplash
Class time is the payoff. Use it for the work students struggle with alone: practice problems, group tasks, labs, debates and projects. Move around the room, coach small groups and spend more time with the students whose check-in answers showed gaps.
The Flipped Learning Network's four pillars are a useful checklist here: a flexible environment, a learning culture centred on students, intentional content and a professional educator who observes and adjusts. If the in-class activity does not depend on the video, students will learn to skip it, so always connect the two.
Key takeaways
A flipped classroom moves instruction to short videos at home and uses class time for active practice.
Research across more than 150,000 students shows a consistent benefit for flipped classes over traditional teaching.
A Notion hub with linked Units, Video lessons and Class activities databases keeps the whole cycle organized.
Plan each video around one objective, record simply and edit out dead time.
Captions and chapters make videos easier to watch and rewatch.
Publish as Unlisted on YouTube, embed in Notion and check understanding before every class.
FAQs
How long should a flipped classroom video be?
Keep each video focused on one objective and cut anything that does not serve it. Many teachers aim for short videos that students can finish in one sitting, and split longer topics into a series.
What if some students cannot watch videos at home?
Plan an alternative, such as time to watch at the start of class, in the library or on a school device. Unlisted YouTube videos also work on most phones, which helps students without a home computer.
Should I make my videos public or unlisted on YouTube?
Unlisted is usually the better choice for class videos. Anyone with the link can watch, but the videos do not appear in search or on your channel page. Check your school's policy before posting any video that shows students.
Do I need to make all my videos myself?
No. You can mix your own videos with high-quality videos from other educators. Your own videos tend to work better for core lessons because students know your voice and the video matches your class activities exactly.
How do I know students actually watched?
Add a short check-in under each video in Notion, with one question on the key idea and one on what was confusing. Reviewing the answers before class shows you who watched and where to start the session.
Can I run a flipped classroom with a free Notion account?
Yes. Databases, relation properties and video embeds are core Notion features, so you can build this setup without a paid plan. Check Notion's pricing page for current limits, and check your school's policies if you plan to collect student responses inside Notion.
Conclusion
Running a flipped classroom is easier when every part of the cycle has a home. Plan units and videos in Notion, record and edit short lessons, publish them as unlisted YouTube videos and embed them where students already look. Then use the check-ins to shape a class session built around practice and discussion. Start with one unit, learn what works for your students and build your video library from there. Which unit will you flip first?
Still grading everything by hand?
EMStudio is a free teaching management app — manage your classes, students, lessons, and more!
Learn More
Still grading everything by hand?
EMStudio is a free teaching management app — manage your classes, students, lessons, and more!
Learn More


Notion4Teachers
Notion templates to simplify administrative tasks and enhance your teaching experience.


2026 Notion4Teachers. All Rights Reserved.
Notion4Teachers
Notion templates to simplify administrative tasks and enhance your teaching experience.
2026 Notion4Teachers. All Rights Reserved.
Notion4Teachers
Notion templates to simplify administrative tasks and enhance your teaching experience.
2026 Notion4Teachers. All Rights Reserved.