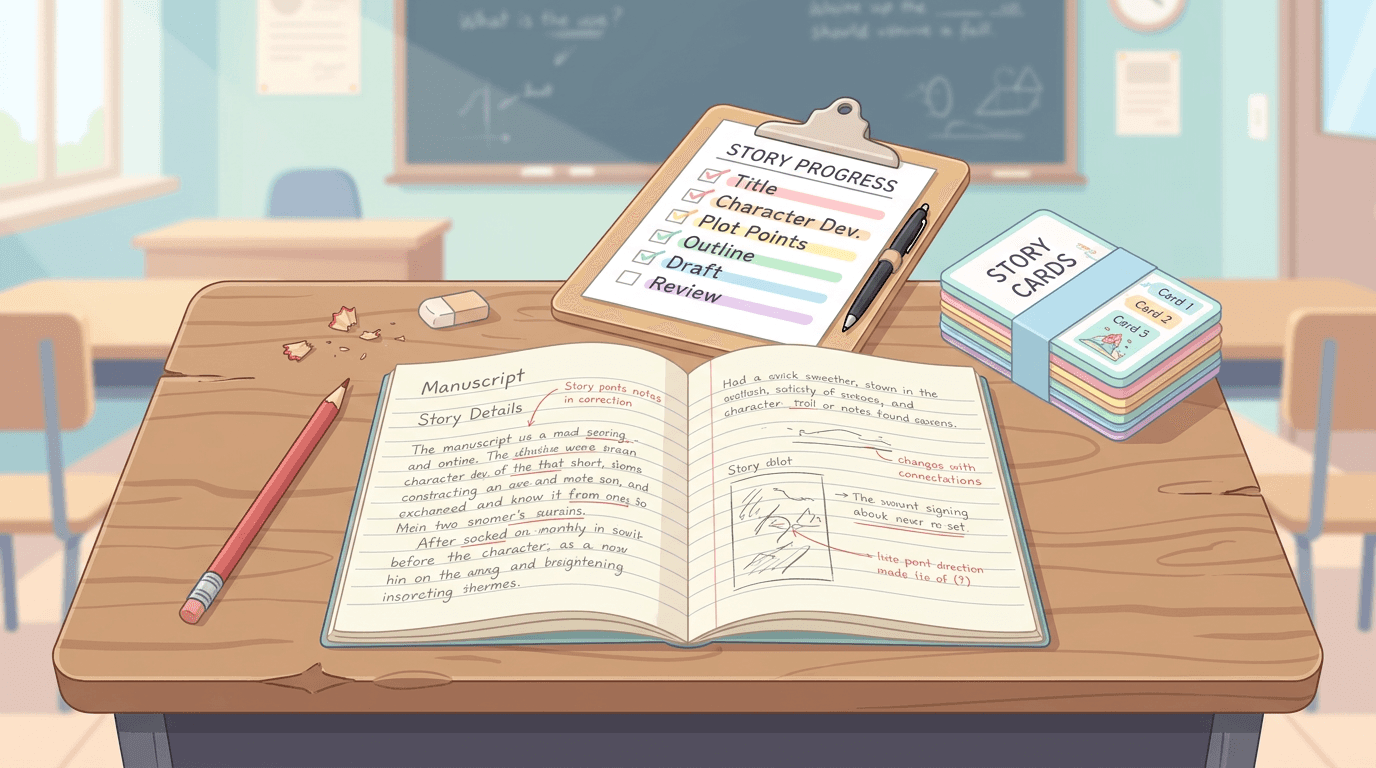
How to Teach Students to Self-Edit a Story Scene by Scene (A Classroom Checklist)
How to Teach Students to Self-Edit a Story Scene by Scene (A Classroom Checklist)

Article by
Milo
ESL Content Coordinator & Educator
ESL Content Coordinator & Educator
All Posts
Ask a class to revise their stories and most students do the same thing. They read from the top, fix a few commas, swap a word or two, and hand it back.
That is not laziness. Nobody has shown them a better method.
Reading a story start to finish is a good way to feel how it flows. It is a bad way to find structural problems. By the second page, the writer is reading the story they meant to write, not the one on the page.
A scene-by-scene edit breaks that spell. Students stop reading like readers and start inspecting like editors, one small unit at a time. It works for a two-page short story and for a 60,000-word novel written during a young writers' program.
Still grading everything by hand?
EMStudio is a free teaching management app — manage your classes, students, lessons, and more!
Learn More
Still grading everything by hand?
EMStudio is a free teaching management app — manage your classes, students, lessons, and more!
Learn More
Table of Contents
Why the scene is the right unit
Chapters and paragraphs are formatting decisions. Scenes are storytelling ones.
A scene is a continuous stretch of action in one place and time, usually from one point of view. It is the smallest piece of a story that can succeed or fail on its own.
That makes it a manageable unit for students. "Revise your story" feels huge. "Check these four things in each scene" feels doable.
Step 1: Build a scene list
Before changing a word, students list every scene in order. For each one they note:
Scene number.
Point of view character.
Where and when it happens.
One sentence on what happens.
Rough word count.
This alone is revealing. Students spot a run of scenes that are all conversations in a kitchen, a time jump they forgot about, or one scene that is four times longer than the rest.
Step 2: Ask the purpose question
For each scene, students answer one question in a single line: what would the reader lose if this scene were cut?
Strong answers sound like:
"We learn the sister lied about the letter."
"The main character decides to run away, which starts the second half."
"The villain shows what he is willing to do."
Weak answers sound like:
"It shows a normal day."
"It is a nice moment between them."
"It sets the mood."
Scenes with weak answers are candidates for cutting, merging or rewriting with a sharper goal. This is often the moment students realise their story starts two scenes too early.
Step 3: Check each scene's engine
Every working scene has the same basic engine: a character wants something, something gets in the way, and the situation is different by the end.
Students run each scene through four checks:
Goal. What does the point of view character want here?
Conflict. What stands in the way, even something small?
Outcome. Do they get it, fail, or get it at a cost?
Change. Is anything different at the end, in the plot, a relationship, or what the reader knows?
If nothing changes, the scene is probably treading water.
Step 4: Track setups and payoffs
Students keep a running list as they go:
Setups: objects, skills, secrets, promises or threats introduced.
Payoffs: where each one matters later.
At the end, they look for orphans. A setup with no payoff is a loose thread. A payoff with no setup feels like a cheat, like a key that appears exactly when the hero needs it. Planting it earlier makes the same twist satisfying.
This step is a great way to teach foreshadowing, because students discover it in their own work rather than in a definition.
Step 5: Watch continuity
Scene-level editing is the best time to catch continuity errors, because students are reading slowly. Names, ages, days of the week, eye colours and who knows which secret all go on a short reference list.
These details look small. Readers notice them anyway.
Step 6: Look at pacing across scenes
Finally, students zoom out and look at their scene list as a whole:
Are several very long scenes stacked together?
Are there too many quiet scenes in a row, or nonstop action with no room to breathe?
Does one character vanish for too long?
Pacing problems are rarely about one scene. They are about the rhythm between scenes.
Running it in Notion
The scene list works well as a simple Notion database, one per student or one shared by a writing group.
Create one row per scene, with properties for scene number, point of view, location, word count, a one-line summary and the purpose answer from Step 2. Add a select property called Status with three options: Keep, Rewrite and Cut.
Two views make the exercise click. A table view sorted by scene number shows the story in order. A board view grouped by Status shows, at a glance, how much of the story is doing real work.
Add a second small database for setups and payoffs, with a relation to the scene where each one appears. Any setup with no linked payoff is easy to spot.
Teachers can duplicate the template for each student and leave comments directly on the scene rows, which keeps feedback specific instead of general.
Where software fits
Students can do every step above with a notebook, a spreadsheet or Notion, and the thinking is the valuable part.
For longer projects, some writers also use tools built around this method. Some walk the writer through structural questions for each scene. Newer ones read the whole manuscript automatically, map scenes, characters and setups, and flag continuity and pacing problems with a link to the exact passage. This comparison of a Fictionary alternative explains the difference between the guided and automatic approaches, which is useful context for older students writing long fiction.
Whatever the tool, the judgment stays with the writer. Software can list the setups. Only the writer can decide whether the payoff lands.
A checklist students can copy
For every scene:
I can say in one line what the reader would lose without it.
The point of view character wants something.
Something gets in the way.
Something is different by the end.
Any setup here pays off later, or any payoff here was set up earlier.
Names, days and details match the rest of the story.
The bottom line
A scene-by-scene edit is slower than a read-through. It is also far more honest.
It turns "something feels off in the middle" into a short list of specific scenes and specific fixes. For students, that is the difference between hoping their revision worked and knowing it did.
Why the scene is the right unit
Chapters and paragraphs are formatting decisions. Scenes are storytelling ones.
A scene is a continuous stretch of action in one place and time, usually from one point of view. It is the smallest piece of a story that can succeed or fail on its own.
That makes it a manageable unit for students. "Revise your story" feels huge. "Check these four things in each scene" feels doable.
Step 1: Build a scene list
Before changing a word, students list every scene in order. For each one they note:
Scene number.
Point of view character.
Where and when it happens.
One sentence on what happens.
Rough word count.
This alone is revealing. Students spot a run of scenes that are all conversations in a kitchen, a time jump they forgot about, or one scene that is four times longer than the rest.
Step 2: Ask the purpose question
For each scene, students answer one question in a single line: what would the reader lose if this scene were cut?
Strong answers sound like:
"We learn the sister lied about the letter."
"The main character decides to run away, which starts the second half."
"The villain shows what he is willing to do."
Weak answers sound like:
"It shows a normal day."
"It is a nice moment between them."
"It sets the mood."
Scenes with weak answers are candidates for cutting, merging or rewriting with a sharper goal. This is often the moment students realise their story starts two scenes too early.
Step 3: Check each scene's engine
Every working scene has the same basic engine: a character wants something, something gets in the way, and the situation is different by the end.
Students run each scene through four checks:
Goal. What does the point of view character want here?
Conflict. What stands in the way, even something small?
Outcome. Do they get it, fail, or get it at a cost?
Change. Is anything different at the end, in the plot, a relationship, or what the reader knows?
If nothing changes, the scene is probably treading water.
Step 4: Track setups and payoffs
Students keep a running list as they go:
Setups: objects, skills, secrets, promises or threats introduced.
Payoffs: where each one matters later.
At the end, they look for orphans. A setup with no payoff is a loose thread. A payoff with no setup feels like a cheat, like a key that appears exactly when the hero needs it. Planting it earlier makes the same twist satisfying.
This step is a great way to teach foreshadowing, because students discover it in their own work rather than in a definition.
Step 5: Watch continuity
Scene-level editing is the best time to catch continuity errors, because students are reading slowly. Names, ages, days of the week, eye colours and who knows which secret all go on a short reference list.
These details look small. Readers notice them anyway.
Step 6: Look at pacing across scenes
Finally, students zoom out and look at their scene list as a whole:
Are several very long scenes stacked together?
Are there too many quiet scenes in a row, or nonstop action with no room to breathe?
Does one character vanish for too long?
Pacing problems are rarely about one scene. They are about the rhythm between scenes.
Running it in Notion
The scene list works well as a simple Notion database, one per student or one shared by a writing group.
Create one row per scene, with properties for scene number, point of view, location, word count, a one-line summary and the purpose answer from Step 2. Add a select property called Status with three options: Keep, Rewrite and Cut.
Two views make the exercise click. A table view sorted by scene number shows the story in order. A board view grouped by Status shows, at a glance, how much of the story is doing real work.
Add a second small database for setups and payoffs, with a relation to the scene where each one appears. Any setup with no linked payoff is easy to spot.
Teachers can duplicate the template for each student and leave comments directly on the scene rows, which keeps feedback specific instead of general.
Where software fits
Students can do every step above with a notebook, a spreadsheet or Notion, and the thinking is the valuable part.
For longer projects, some writers also use tools built around this method. Some walk the writer through structural questions for each scene. Newer ones read the whole manuscript automatically, map scenes, characters and setups, and flag continuity and pacing problems with a link to the exact passage. This comparison of a Fictionary alternative explains the difference between the guided and automatic approaches, which is useful context for older students writing long fiction.
Whatever the tool, the judgment stays with the writer. Software can list the setups. Only the writer can decide whether the payoff lands.
A checklist students can copy
For every scene:
I can say in one line what the reader would lose without it.
The point of view character wants something.
Something gets in the way.
Something is different by the end.
Any setup here pays off later, or any payoff here was set up earlier.
Names, days and details match the rest of the story.
The bottom line
A scene-by-scene edit is slower than a read-through. It is also far more honest.
It turns "something feels off in the middle" into a short list of specific scenes and specific fixes. For students, that is the difference between hoping their revision worked and knowing it did.
Still grading everything by hand?
EMStudio is a free teaching management app — manage your classes, students, lessons, and more!
Learn More
Still grading everything by hand?
EMStudio is a free teaching management app — manage your classes, students, lessons, and more!
Learn More



Notion4Teachers
Notion templates to simplify administrative tasks and enhance your teaching experience.



2026 Notion4Teachers. All Rights Reserved.
Notion4Teachers
Notion templates to simplify administrative tasks and enhance your teaching experience.
2026 Notion4Teachers. All Rights Reserved.
Notion4Teachers
Notion templates to simplify administrative tasks and enhance your teaching experience.
2026 Notion4Teachers. All Rights Reserved.