
A Teacher’s Checklist for Launching a Game-Based Activity
A Teacher’s Checklist for Launching a Game-Based Activity

Article by
Milo
ESL Content Coordinator & Educator
ESL Content Coordinator & Educator
All Posts
Ultimate Teacher Planner
The ultimate all-in-one education management system in Notion.
Learn More
Ultimate Teacher Planner
The ultimate all-in-one education management system in Notion.
Learn More
Table of Contents
Using a game in class sounds easy until twenty students try to join at once.
One forgot a password. Another has the wrong version. Someone clicked the wrong button and is now somewhere completely different.
And you haven’t even started the lesson yet.
A little preparation helps. You don’t need to plan every second. But checking a few things beforehand can save a lot of time once students sit down.
Know Why You’re Using the Game
Start with the lesson, not the game.
Ask yourself what students should understand or practice by the end.
Maybe they’re working on teamwork. Perhaps they’re learning about planning and resources. Or you want them to build something based on a topic you covered earlier.
Write that goal down in one sentence.
Then choose the activity around it.
Like imagine students working together in Minecraft instead of just doing another regular assignment. They could build historical villages, design ecosystems or make models based on measurements they learned in math.
The game gives them a place to work. It shouldn’t become the whole point of the lesson.
Test Everything Before Students Arrive
This part is easy to skip.
Don’t.
Open the game on the same type of device students will use. Try joining the world from another account. Check permissions.
If youre gonna use a Minecraft server, just check that youre running the correct version first. Test whether several people can connect without changing anything first.
Teachers setting up a separate server may also come across discussions about best hosting minecraft server while comparing different setups.
Another common question is what is the best server hosting for minecraft. There isn’t one answer that fits every class. Player numbers, budget, server version, and the activity itself can all change what you need.
And write down the login or joining steps somewhere students can see them.
You don’t want to repeat the server address twenty times.
Make a Short Student Checklist
Students don’t need a giant page of instructions before playing.
Give them the basics.
A simple checklist might look like this:
Join the correct game or server.
Find your assigned group.
Read the task before building anything.
Stay inside the area given to your team.
Ask before changing another group’s work.
Save or record your result before class ends.
That’s usually easier to follow than a long speech.
If there are special controls students need, show those too. But keep the explanation short.
Let them try things.
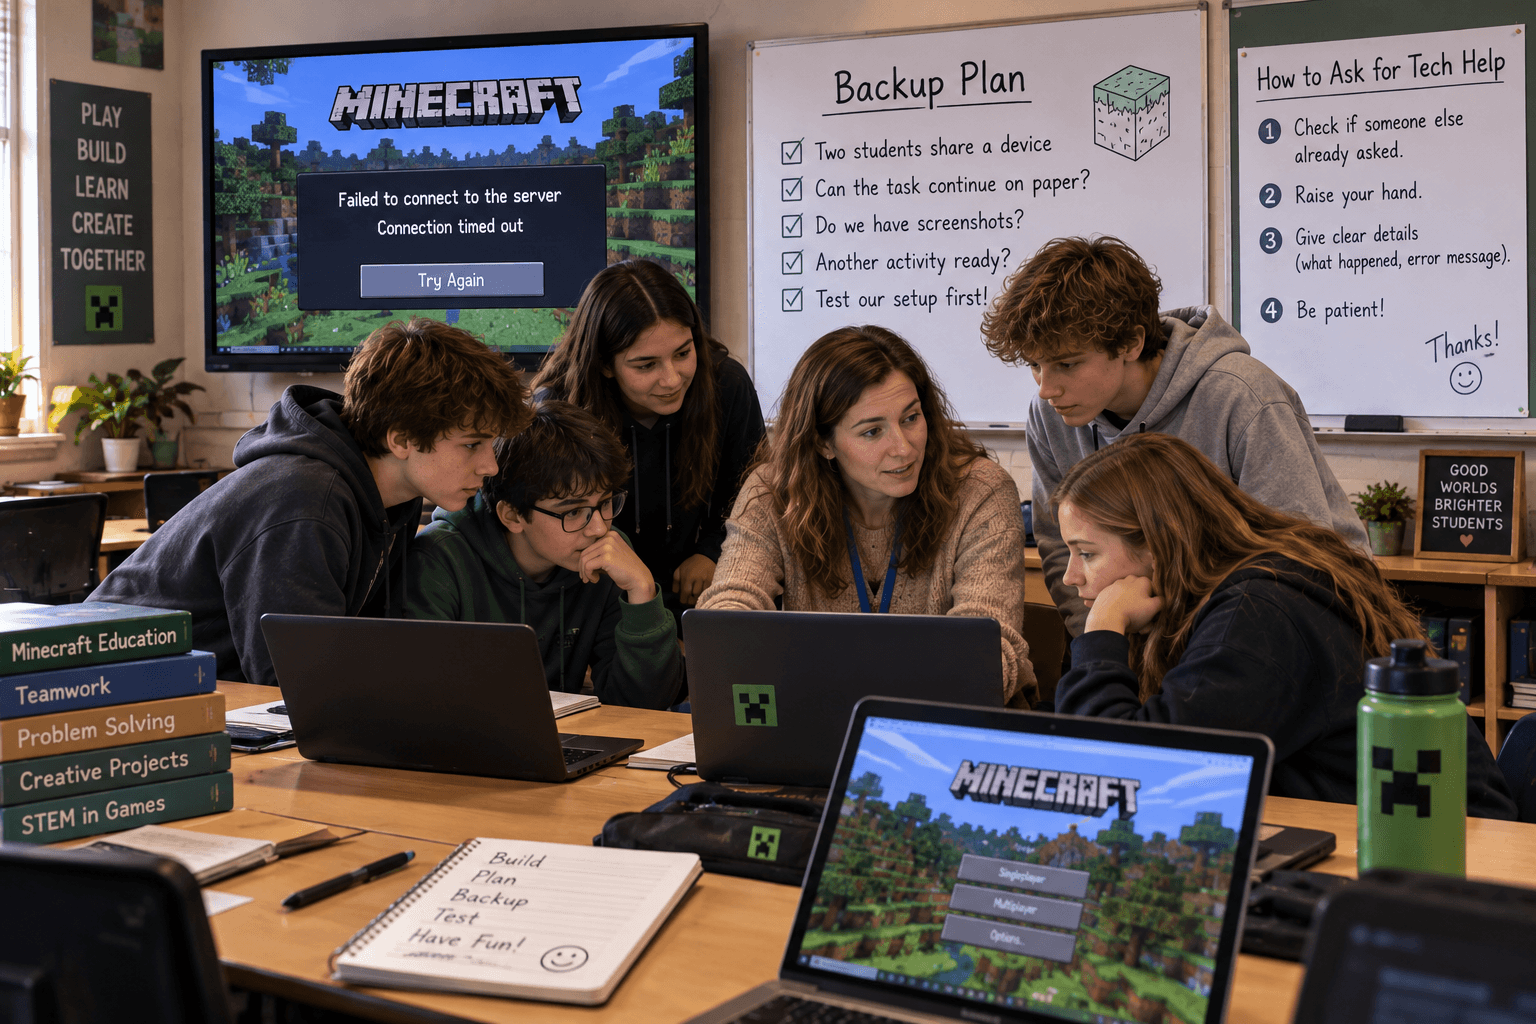
Figure Out What to Do When Stuff Breaks
Something probably will.
Maybe one laptop refuses to connect. The server could go down. A student might accidentally delete part of the group’s work.
Have a basic backup plan.
Could two students share a device? Can the task continue on paper? Do you have screenshots or another activity ready if the game becomes unavailable?
Also decide how students should ask for technical help.
Like otherwise you end up with six people asking you stuff at the same time and everyone else waiting around.
For a larger Minecraft activity, the server setup matters too. Reading about best hosting minecraft server options can give you an idea of what other users consider before running a shared world.
But test your own setup. A recommendation online can’t tell you exactly how it will behave with your devices and school network.

Leave Time to Talk Afterwards
Don’t let the lesson end the second the game ends.
Save a few minutes for students to explain what happened.
Ask what their group tried. What worked? What went wrong? What would they change if they had another twenty minutes?
Sometimes the most useful part comes after the activity.
A group may have built the wrong thing but discovered why their plan failed. Another team might explain how they divided the work.
That discussion connects the game back to the lesson.
So keep the setup simple. Test it before class. Give students a clear job and have something ready when the technology decides not to cooperate.
The game is just the activity.
What students do with it is the part that matters.
Using a game in class sounds easy until twenty students try to join at once.
One forgot a password. Another has the wrong version. Someone clicked the wrong button and is now somewhere completely different.
And you haven’t even started the lesson yet.
A little preparation helps. You don’t need to plan every second. But checking a few things beforehand can save a lot of time once students sit down.
Know Why You’re Using the Game
Start with the lesson, not the game.
Ask yourself what students should understand or practice by the end.
Maybe they’re working on teamwork. Perhaps they’re learning about planning and resources. Or you want them to build something based on a topic you covered earlier.
Write that goal down in one sentence.
Then choose the activity around it.
Like imagine students working together in Minecraft instead of just doing another regular assignment. They could build historical villages, design ecosystems or make models based on measurements they learned in math.
The game gives them a place to work. It shouldn’t become the whole point of the lesson.
Test Everything Before Students Arrive
This part is easy to skip.
Don’t.
Open the game on the same type of device students will use. Try joining the world from another account. Check permissions.
If youre gonna use a Minecraft server, just check that youre running the correct version first. Test whether several people can connect without changing anything first.
Teachers setting up a separate server may also come across discussions about best hosting minecraft server while comparing different setups.
Another common question is what is the best server hosting for minecraft. There isn’t one answer that fits every class. Player numbers, budget, server version, and the activity itself can all change what you need.
And write down the login or joining steps somewhere students can see them.
You don’t want to repeat the server address twenty times.
Make a Short Student Checklist
Students don’t need a giant page of instructions before playing.
Give them the basics.
A simple checklist might look like this:
Join the correct game or server.
Find your assigned group.
Read the task before building anything.
Stay inside the area given to your team.
Ask before changing another group’s work.
Save or record your result before class ends.
That’s usually easier to follow than a long speech.
If there are special controls students need, show those too. But keep the explanation short.
Let them try things.
Figure Out What to Do When Stuff Breaks
Something probably will.
Maybe one laptop refuses to connect. The server could go down. A student might accidentally delete part of the group’s work.
Have a basic backup plan.
Could two students share a device? Can the task continue on paper? Do you have screenshots or another activity ready if the game becomes unavailable?
Also decide how students should ask for technical help.
Like otherwise you end up with six people asking you stuff at the same time and everyone else waiting around.
For a larger Minecraft activity, the server setup matters too. Reading about best hosting minecraft server options can give you an idea of what other users consider before running a shared world.
But test your own setup. A recommendation online can’t tell you exactly how it will behave with your devices and school network.
Leave Time to Talk Afterwards
Don’t let the lesson end the second the game ends.
Save a few minutes for students to explain what happened.
Ask what their group tried. What worked? What went wrong? What would they change if they had another twenty minutes?
Sometimes the most useful part comes after the activity.
A group may have built the wrong thing but discovered why their plan failed. Another team might explain how they divided the work.
That discussion connects the game back to the lesson.
So keep the setup simple. Test it before class. Give students a clear job and have something ready when the technology decides not to cooperate.
The game is just the activity.
What students do with it is the part that matters.
Ultimate Teacher Planner
The ultimate all-in-one education management system in Notion.
Learn More
Ultimate Teacher Planner
The ultimate all-in-one education management system in Notion.
Learn More



Notion4Teachers
Notion templates to simplify administrative tasks and enhance your teaching experience.



2026 Notion4Teachers. All Rights Reserved.
Notion4Teachers
Notion templates to simplify administrative tasks and enhance your teaching experience.
2026 Notion4Teachers. All Rights Reserved.
Notion4Teachers
Notion templates to simplify administrative tasks and enhance your teaching experience.
2026 Notion4Teachers. All Rights Reserved.