How to Turn Lesson Plans Into Interactive Online Courses

You’ve perfected your lesson plan. The explanations work, the activities engage learners, and the assessments measure progress. But turning it into an online course brings new challenges: learners need to understand instructions, stay motivated, and make progress without a teacher guiding them
You don't have to create a course from scratch. With the right approach, you can transform your existing lesson plans and teaching materials into engaging, interactive online courses that learners can complete at their own pace.
Here’s how to turn lesson plans into online courses in six practical steps.
Still grading everything by hand?
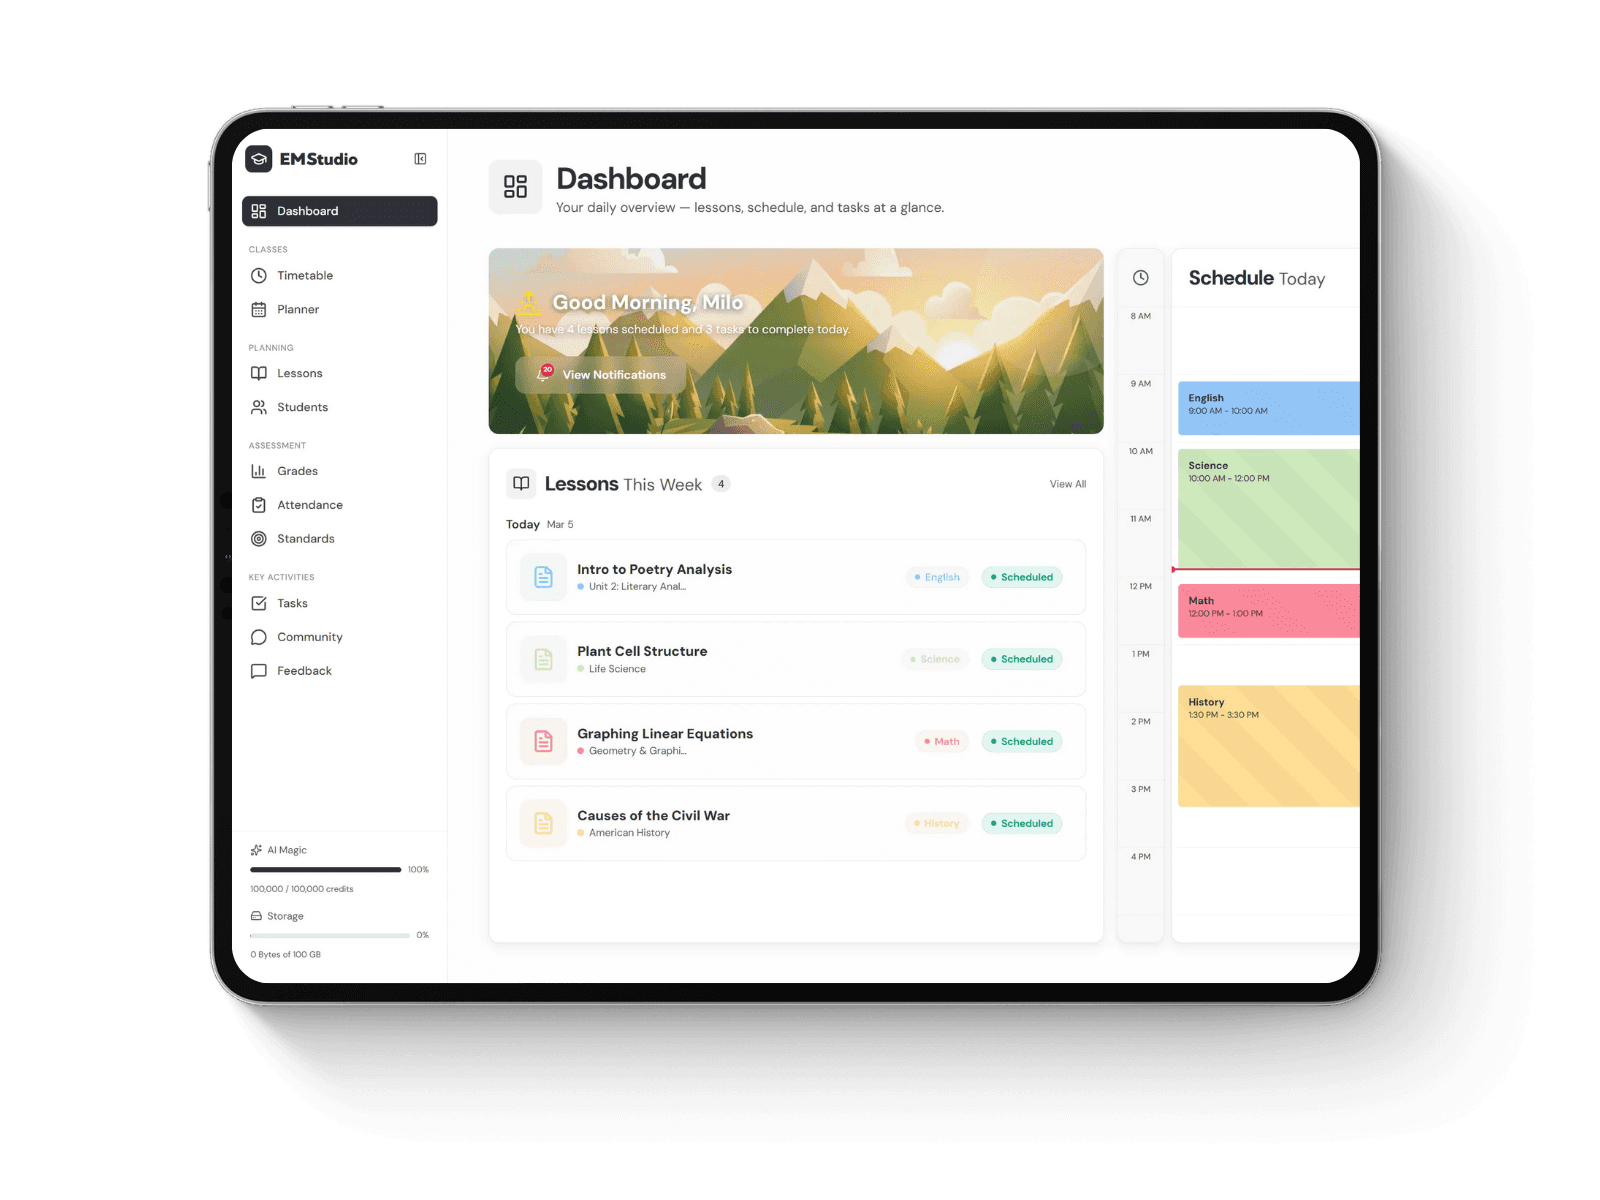
EMStudio is a free teaching management app — manage your classes, students, lessons, and more!
Why Classroom Lesson Plans Need to Be Adapted for Online Learning
In a traditional classroom, teachers can explain difficult concepts, answer questions, and adjust lessons based on learners' needs. In an online course, learners often study independently, so they need clear instructions, well-organized content, opportunities to practice, and helpful feedback.
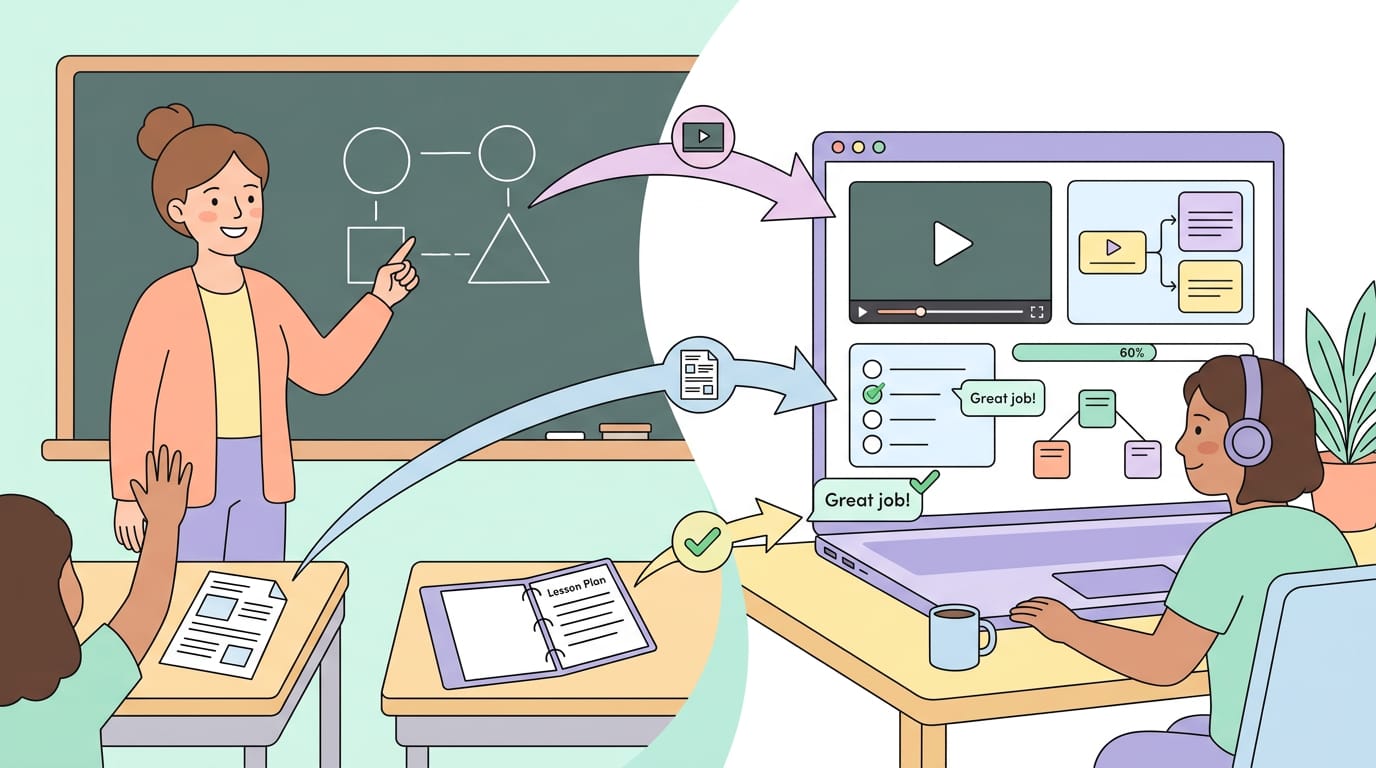
Turning a classroom lesson plan into an interactive online course involves more than simply converting materials into digital formats. It requires adapting the learning experience to an online environment:
Traditional lesson plan | Interactive online course |
|---|---|
Teacher presentation | Short narrated video |
Class discussion | Decision-based scenario or forum |
Printed worksheet | Interactive quiz or exercise |
Verbal feedback | Instant feedback with explanations |
Classroom test | Online assessment |
The aim is to help learners progress confidently, even when studying alone.
How to Turn Lesson Plans Into Online Courses in 6 Steps
Step 1. Define Clear Learning Objectives
Before creating an online course, determine what students should know or be able to do by the end of it. Review your existing lesson plan, including slides, handouts, activities, and assessments. Keep materials that support your learning goals and remove unnecessary content.
Consider your students' age, grade level, and prior knowledge when defining learning objectives. Identify what they already know, which concepts they need to understand, and where they may need additional support. This will help you set realistic objectives and choose appropriate learning activities.
Tip: Set one main learning objective for each module to keep your content focused and organized.
Step 2. Break Long Lessons Into Smaller Modules
A long classroom lesson doesn't always translate well into an online course. Instead of turning a 60-minute session into one lengthy video, divide the content into shorter, focused modules that are easier for students to follow.
Organize each module using a simple structure:
Introduce: Start with a question or real-world example to spark students' curiosity.
Explain: Present key concepts through short videos, visuals, or concise text.
Practice: Add an interactive activity to help students apply what they've learned.
Check: Include a quick quiz to assess understanding and reinforce key points.
For example, a one-hour science lesson about ecosystems could become three modules covering food chains, relationships between organisms, and the effects of environmental changes.
Keep each module focused on one topic and allow students to revisit explanations and activities whenever they need extra support.
Step 3. Adapt Existing Materials for Online Learning
You don't need to create all your course materials from scratch. Your existing slides, worksheets, and classroom demonstrations can be adapted into digital content that makes learning more interactive and accessible.
Here's how to repurpose different materials:
PowerPoint slides: Add narration, examples, and knowledge checks to make presentations more engaging. You can also turn your slides into video lessons. Learn how to make a training video in PowerPoint.
Text-heavy materials: Convert lengthy explanations into diagrams, short videos, or visual guides.
Classroom demonstrations: Record video tutorials that students can pause and replay.
Worksheets: Turn traditional exercises into interactive quizzes and activities.
For example, instead of using a printed worksheet to explain the water cycle, create a short animated lesson followed by an interactive activity where students arrange the stages in the correct order.
Step 4. Make Learning Interactive
Online courses should give students opportunities to practice new skills, not just watch videos or read content. Adding interactive activities helps maintain their attention and reinforces their understanding.
Choose activities that support your learning objectives:
Quizzes: Test knowledge and reinforce key concepts.
Drag-and-drop activities: Help students match information, categorize items, or arrange steps in the correct order.
Branching scenarios: Let students make decisions and explore different outcomes.
Interactive dialogues: Allow students to practice conversations and language skills.
Clickable diagrams: Help students explore complex information at their own pace.
For example, instead of using a traditional history worksheet, create a branching scenario where students make decisions from a historical figure's perspective and explore the possible consequences.
Include short knowledge checks throughout the course and provide helpful feedback when students answer incorrectly.
Tip: Focus on meaningful interactions that encourage students to think critically and apply knowledge rather than adding interactive elements simply for engagement.
Step 5. Build the Course With an Authoring Tool
Use an eLearning authoring tool to turn your teaching materials into an interactive online course without requiring coding skills.
Choose a tool that supports different content formats, interactive activities, and publishing options. Import your materials, organize them into modules, add quizzes and multimedia, and preview the course before publishing. Make sure you can easily update the content when needed.
You can also use AI to speed up course creation. An AI course builder like iSpring Suite AI can transform existing PDF, DOCX, or TXT documents into structured, editable courses. You can then customize the content, refine explanations, and add interactive activities to make lessons more engaging for students.
Remember to review AI-generated content for accuracy, age appropriateness, and relevance. Make sure the final course aligns with your learning objectives and meets your students' needs.
Step 6. Test and Improve Your Online Course
Before publishing, test your course to make sure everything works correctly and students can navigate it easily. Check how the course performs on different devices, including desktops, tablets, and smartphones. Test interactive activities, video playback, quizzes, and navigation to identify potential issues.
Invite a small group of students to complete the course and share their feedback. Ask whether the instructions are clear, the lessons are engaging, and the activities help them understand the material.
Once everything is ready, publish your course as a SCORM package for a compatible learning management system (LMS). After launching, monitor completion rates, quiz scores, and student feedback. Use these insights to identify areas where students struggle and make improvements to support their learning.
Conclusion
Turning lesson plans into online courses involves more than converting classroom materials into digital formats. The goal is to create engaging learning experiences that help students build knowledge, practice new skills, and learn independently.
Start with clear objectives, organize content into manageable modules, add meaningful interactions, and test your course. Use student feedback to make improvements and achieve better learning outcomes.
Still grading everything by hand?
EMStudio is a free teaching management app — manage your classes, students, lessons, and more!