
3 Best Video Tools for Teachers Creating Lesson Explainers
3 Best Video Tools for Teachers Creating Lesson Explainers

Article by
Milo
ESL Content Coordinator & Educator
ESL Content Coordinator & Educator
All Posts
Sponsored contribution from Magic Hour. These workflow recommendations are based on published product information and editorial suitability, not a hands-on benchmark or a claim that one tool is best for every classroom. Teachers should review school privacy rules before using any service.
A good lesson video makes one idea easier to understand. It does not need cinematic production, a talking avatar, or an elaborate animated story. For a busy teacher, the useful question is which tool removes the next bottleneck: finding a visual, assembling slides, recording an explanation, or making the finished lesson accessible. This shortlist separates those jobs instead of pretending that every video product does the same thing.
The recommendations below focus on teacher-created explainers. They are not endorsements of student account creation, permission to upload classroom recordings, or substitutes for a district technology review. Prices, eligibility, and product limits can change, so check the current official offer before committing a department budget.
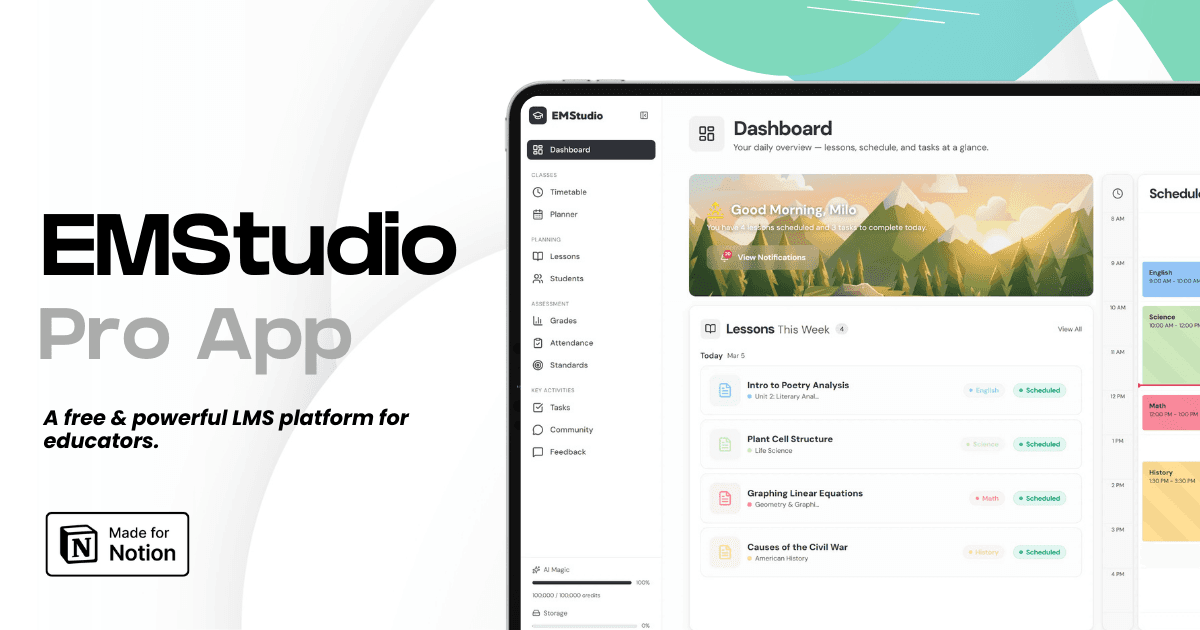
Still grading everything by hand?
EMStudio is a free teaching management app — manage your classes, students, lessons, and more!
Learn More
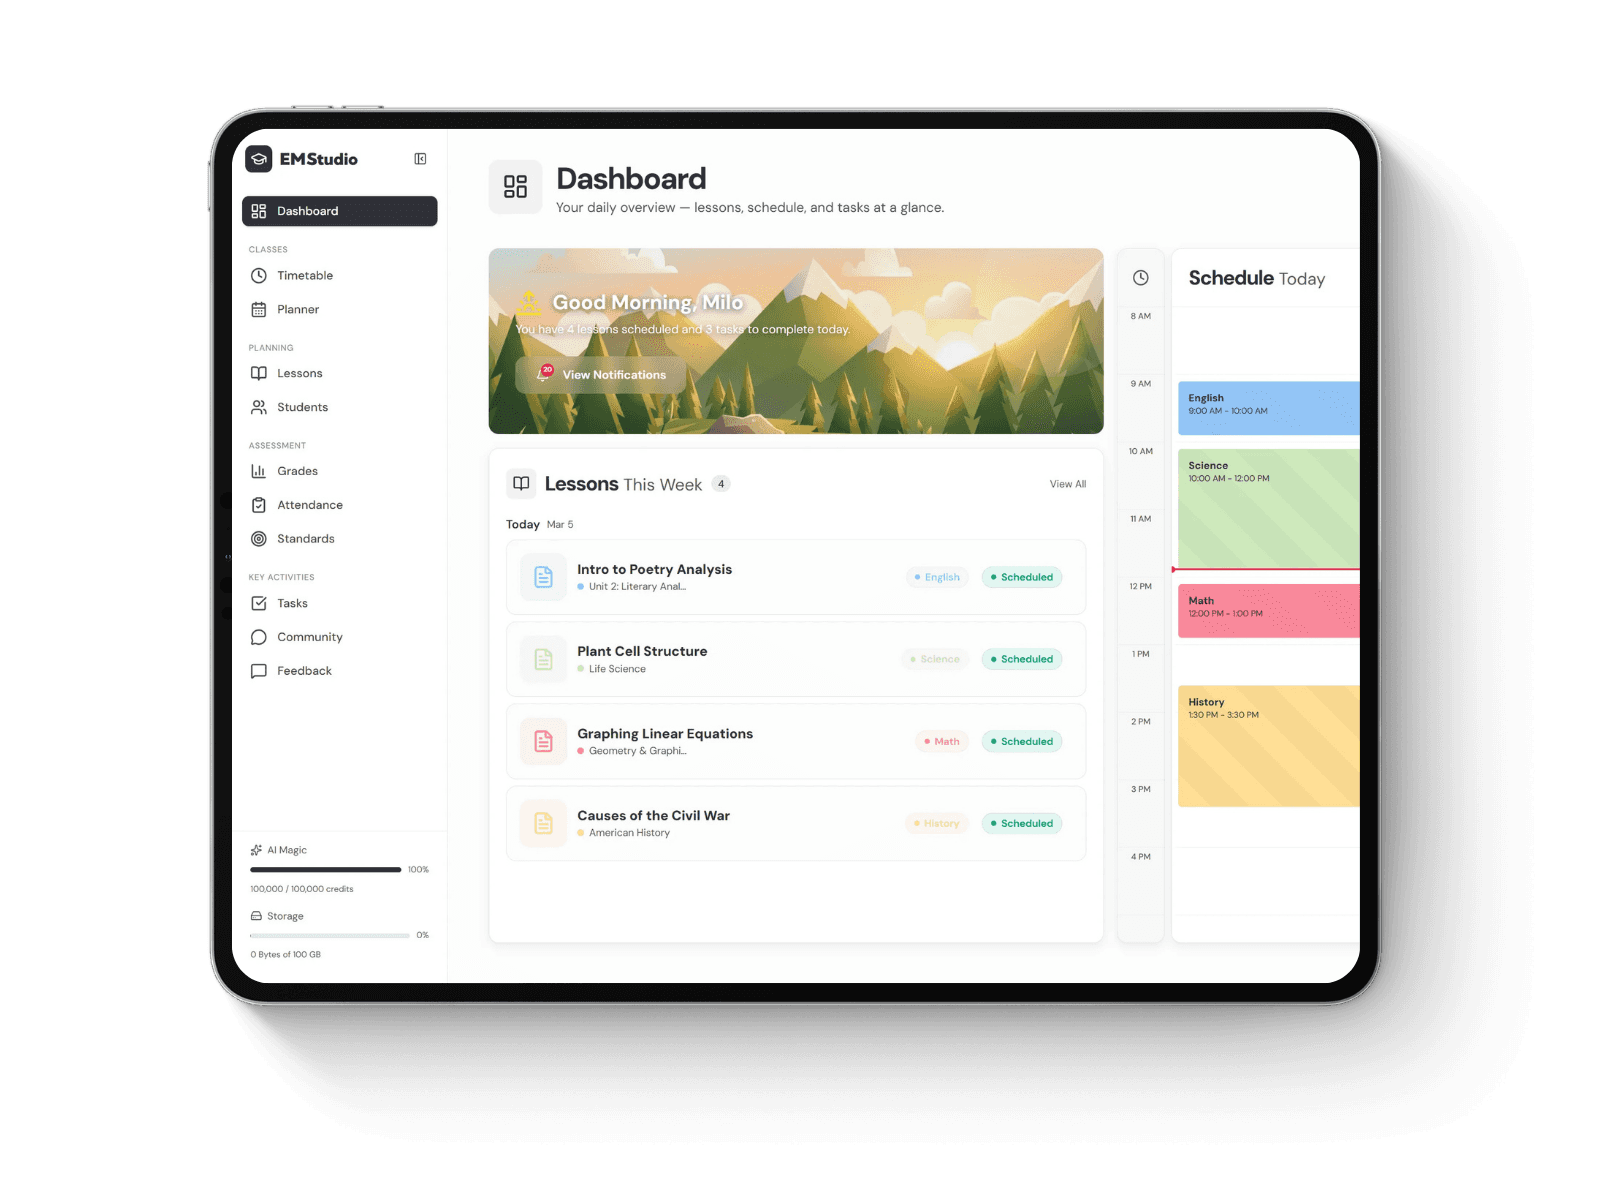
Still grading everything by hand?
EMStudio is a free teaching management app — manage your classes, students, lessons, and more!
Learn More
Table of Contents
Quick picks: the best fit for each teaching workflow
Magic Hour: a starting point for generating short illustrative visuals from text or an existing image.
Canva: a practical option for assembling a visually consistent lesson with templates and classroom design tools.
Adobe Express: an option for schools seeking creative projects and an education-specific environment.
This is a fit-based shortlist, not an objective quality ranking. An accurate diagram with a calm explanation can be more effective than an impressive generated scene. Choose the simplest workflow that helps learners answer the question you actually intend to teach.
1. Magic Hour — best fit here for drafting original illustrative clips
Magic Hour's AI video generator is relevant when a teacher needs a short visual to support an explanation rather than a complete course-authoring system. For example, a language lesson might benefit from an invented scene that gives students something to describe. A creative-writing exercise could use a fictional setting as a prompt. In these cases, the clip is a stimulus for discussion, not evidence that an event occurred.
The strongest reason to consider generation is control over the starting idea. Begin with the learning objective, then describe a modest scene and a single action. Keep the request specific enough that you can inspect the result. An elaborate prompt involving many interacting objects is harder to evaluate and may produce visual details that confuse the lesson.
If you already have an illustration you own or are allowed to adapt, image to video AI provides a different starting point: turning a still image into a moving clip. A teacher might animate a fictional landscape before asking students to identify descriptive vocabulary. Avoid using generated motion to demonstrate a scientific mechanism unless every frame has been checked against an authoritative explanation.
For a scene described in words, Magic Hour's text to video AI offers the text-prompt route. Keep the first version short and disposable. If the result is inaccurate, revise or replace it rather than building an entire lesson around a flawed clip. Budget for the possibility that several attempts may be needed; a generation tool does not guarantee that the first output will satisfy your teaching goal.
The limitation is important: plausible visuals are not automatically factual visuals. Do not treat generated maps, historical clothing, equations, labels, or physical motion as reliable simply because they look polished. For knowledge-critical material, use verified source imagery or a teacher-made diagram instead. Magic Hour belongs in the visual-drafting stage; the teacher remains responsible for accuracy, rights, and classroom suitability.
2. Canva — best fit for putting the lesson together
Canva's education offering includes classroom templates and design tools, with accessibility-related options such as captions. It is worth considering when the hard part is arranging information clearly rather than inventing a new visual. Check eligibility and school approval directly; the availability of an education offer is not a reason to assume every teacher or student qualifies.
A useful assembly workflow is to make one slide for the question, one for the explanation, and one for a retrieval prompt. Keep colors and heading positions consistent so learners spend their attention on the content. A short clip can support one slide without taking over the whole presentation. The teacher's spoken explanation should make sense even if the viewer misses the animation.
Templates can speed up production, but they can also encourage decorative overload. Remove elements that do not help the learner understand or remember the idea. Check text size on the actual device your students will use, not only on your editing screen. Review any automatic caption output and correct names, subject vocabulary, punctuation, and timing before sharing.
3. Adobe Express — best fit for an education-centered creative project
Adobe Express has a dedicated education offering. Adobe describes education-specific safeguards, including filtered image and video search in its K–12 environment. Those features are reasons to examine the school offering, not a guarantee that every possible upload or generated output is suitable for every age group.
This option can make sense when the lesson includes a creative communication task: a short visual report, an explanation for a defined audience, or a project combining images and narration. Start with a rubric that rewards understanding rather than effects. Ask students to explain why they selected each visual and how it supports the argument, using whatever account and supervision arrangements the school has approved.
Teachers should distinguish the education environment from a general personal account. Confirm the correct access route, administrator requirements, and current policy before making a class assignment. A familiar product name does not mean all versions share the same settings or permissions. Keep an alternate non-digital task available where access or consent is uncertain.
A repeatable lesson-video workflow, with Notion as the planning hub
First, write a one-sentence learning objective. Then write the question the learner should be able to answer after watching. If the question is vague, improve the lesson plan before opening a video tool. A useful clip supports a specific explanation; it should not be a reward for simply making something attractive.
Second, make a small shot list in your planning system. A Notion lesson page can hold the objective, the narration outline, the visual source, a rights note, and a review checklist. Record whether each asset is teacher-created, licensed, public-domain, or generated. Keeping this information beside the lesson makes later revisions easier than searching through scattered downloads.
Third, select the minimum necessary production method. Use a verified still diagram when motion adds nothing. Use a screen recording when learners need to follow a real procedure. Use an illustrative generated clip only when a fictional or clearly labeled representation helps. Combining tools is reasonable, but adding a tool should remove a real bottleneck.
Fourth, review the result as a learner would see it. Watch with sound, then without sound. Check whether the explanation remains understandable, captions are accurate, and essential information is not hidden by an overlay. Review on a smaller screen if that is how the lesson will be consumed. A readable, restrained video usually travels better than a dense presentation.
Privacy, accuracy, and a sensible pilot
Do not upload student names, faces, voices, grades, accommodation details, or classroom recordings to a service without the required school authorization. Use fictional examples and non-identifying assets when testing. Generated student likenesses and impersonations create additional concerns; they are unnecessary for most lesson explainers.
Pilot one lesson before standardizing a workflow. Track preparation time, revisions, accessibility fixes, and whether students can answer the intended question. Do not use views or visual polish alone as evidence of learning. Keep the original lesson materials so the class can proceed if a service is unavailable or its terms change.
The best choice depends on the job. Magic Hour fits the draft-visual stage, Canva fits lesson assembly, and Adobe Express deserves consideration for education-centered creative work. Start from the teaching objective, make the smallest useful video, and publish only after a human review. The teacher's judgment matters more than the software ranking.
Product references: Magic Hour product pages linked above; Canva for teachers (canva.com/education/teachers/); Adobe Express for Education (adobe.com/education/express/).
Quick picks: the best fit for each teaching workflow
Magic Hour: a starting point for generating short illustrative visuals from text or an existing image.
Canva: a practical option for assembling a visually consistent lesson with templates and classroom design tools.
Adobe Express: an option for schools seeking creative projects and an education-specific environment.
This is a fit-based shortlist, not an objective quality ranking. An accurate diagram with a calm explanation can be more effective than an impressive generated scene. Choose the simplest workflow that helps learners answer the question you actually intend to teach.
1. Magic Hour — best fit here for drafting original illustrative clips
Magic Hour's AI video generator is relevant when a teacher needs a short visual to support an explanation rather than a complete course-authoring system. For example, a language lesson might benefit from an invented scene that gives students something to describe. A creative-writing exercise could use a fictional setting as a prompt. In these cases, the clip is a stimulus for discussion, not evidence that an event occurred.
The strongest reason to consider generation is control over the starting idea. Begin with the learning objective, then describe a modest scene and a single action. Keep the request specific enough that you can inspect the result. An elaborate prompt involving many interacting objects is harder to evaluate and may produce visual details that confuse the lesson.
If you already have an illustration you own or are allowed to adapt, image to video AI provides a different starting point: turning a still image into a moving clip. A teacher might animate a fictional landscape before asking students to identify descriptive vocabulary. Avoid using generated motion to demonstrate a scientific mechanism unless every frame has been checked against an authoritative explanation.
For a scene described in words, Magic Hour's text to video AI offers the text-prompt route. Keep the first version short and disposable. If the result is inaccurate, revise or replace it rather than building an entire lesson around a flawed clip. Budget for the possibility that several attempts may be needed; a generation tool does not guarantee that the first output will satisfy your teaching goal.
The limitation is important: plausible visuals are not automatically factual visuals. Do not treat generated maps, historical clothing, equations, labels, or physical motion as reliable simply because they look polished. For knowledge-critical material, use verified source imagery or a teacher-made diagram instead. Magic Hour belongs in the visual-drafting stage; the teacher remains responsible for accuracy, rights, and classroom suitability.
2. Canva — best fit for putting the lesson together
Canva's education offering includes classroom templates and design tools, with accessibility-related options such as captions. It is worth considering when the hard part is arranging information clearly rather than inventing a new visual. Check eligibility and school approval directly; the availability of an education offer is not a reason to assume every teacher or student qualifies.
A useful assembly workflow is to make one slide for the question, one for the explanation, and one for a retrieval prompt. Keep colors and heading positions consistent so learners spend their attention on the content. A short clip can support one slide without taking over the whole presentation. The teacher's spoken explanation should make sense even if the viewer misses the animation.
Templates can speed up production, but they can also encourage decorative overload. Remove elements that do not help the learner understand or remember the idea. Check text size on the actual device your students will use, not only on your editing screen. Review any automatic caption output and correct names, subject vocabulary, punctuation, and timing before sharing.
3. Adobe Express — best fit for an education-centered creative project
Adobe Express has a dedicated education offering. Adobe describes education-specific safeguards, including filtered image and video search in its K–12 environment. Those features are reasons to examine the school offering, not a guarantee that every possible upload or generated output is suitable for every age group.
This option can make sense when the lesson includes a creative communication task: a short visual report, an explanation for a defined audience, or a project combining images and narration. Start with a rubric that rewards understanding rather than effects. Ask students to explain why they selected each visual and how it supports the argument, using whatever account and supervision arrangements the school has approved.
Teachers should distinguish the education environment from a general personal account. Confirm the correct access route, administrator requirements, and current policy before making a class assignment. A familiar product name does not mean all versions share the same settings or permissions. Keep an alternate non-digital task available where access or consent is uncertain.
A repeatable lesson-video workflow, with Notion as the planning hub
First, write a one-sentence learning objective. Then write the question the learner should be able to answer after watching. If the question is vague, improve the lesson plan before opening a video tool. A useful clip supports a specific explanation; it should not be a reward for simply making something attractive.
Second, make a small shot list in your planning system. A Notion lesson page can hold the objective, the narration outline, the visual source, a rights note, and a review checklist. Record whether each asset is teacher-created, licensed, public-domain, or generated. Keeping this information beside the lesson makes later revisions easier than searching through scattered downloads.
Third, select the minimum necessary production method. Use a verified still diagram when motion adds nothing. Use a screen recording when learners need to follow a real procedure. Use an illustrative generated clip only when a fictional or clearly labeled representation helps. Combining tools is reasonable, but adding a tool should remove a real bottleneck.
Fourth, review the result as a learner would see it. Watch with sound, then without sound. Check whether the explanation remains understandable, captions are accurate, and essential information is not hidden by an overlay. Review on a smaller screen if that is how the lesson will be consumed. A readable, restrained video usually travels better than a dense presentation.
Privacy, accuracy, and a sensible pilot
Do not upload student names, faces, voices, grades, accommodation details, or classroom recordings to a service without the required school authorization. Use fictional examples and non-identifying assets when testing. Generated student likenesses and impersonations create additional concerns; they are unnecessary for most lesson explainers.
Pilot one lesson before standardizing a workflow. Track preparation time, revisions, accessibility fixes, and whether students can answer the intended question. Do not use views or visual polish alone as evidence of learning. Keep the original lesson materials so the class can proceed if a service is unavailable or its terms change.
The best choice depends on the job. Magic Hour fits the draft-visual stage, Canva fits lesson assembly, and Adobe Express deserves consideration for education-centered creative work. Start from the teaching objective, make the smallest useful video, and publish only after a human review. The teacher's judgment matters more than the software ranking.
Product references: Magic Hour product pages linked above; Canva for teachers (canva.com/education/teachers/); Adobe Express for Education (adobe.com/education/express/).
Still grading everything by hand?
EMStudio is a free teaching management app — manage your classes, students, lessons, and more!
Learn More
Still grading everything by hand?
EMStudio is a free teaching management app — manage your classes, students, lessons, and more!
Learn More


Notion4Teachers
Notion templates to simplify administrative tasks and enhance your teaching experience.



2026 Notion4Teachers. All Rights Reserved.
Notion4Teachers
Notion templates to simplify administrative tasks and enhance your teaching experience.
2026 Notion4Teachers. All Rights Reserved.
Notion4Teachers
Notion templates to simplify administrative tasks and enhance your teaching experience.
2026 Notion4Teachers. All Rights Reserved.