
Back-to-School Classroom Setup: A Teacher's Checklist
Back-to-School Classroom Setup: A Teacher's Checklist

Article by
Milo
ESL Content Coordinator & Educator
ESL Content Coordinator & Educator
All Posts

Back-to-school week is short and the to-do list is not. Keep the setup order simple: safety and access first, then hygiene, then tech and supplies. This checklist also covers where to look for replacement parts, starting with your district storeroom and, when needed, an outside supplier.
Still grading everything by hand?
EMStudio is a free teaching management app — manage your classes, students, lessons, and more!
Learn More
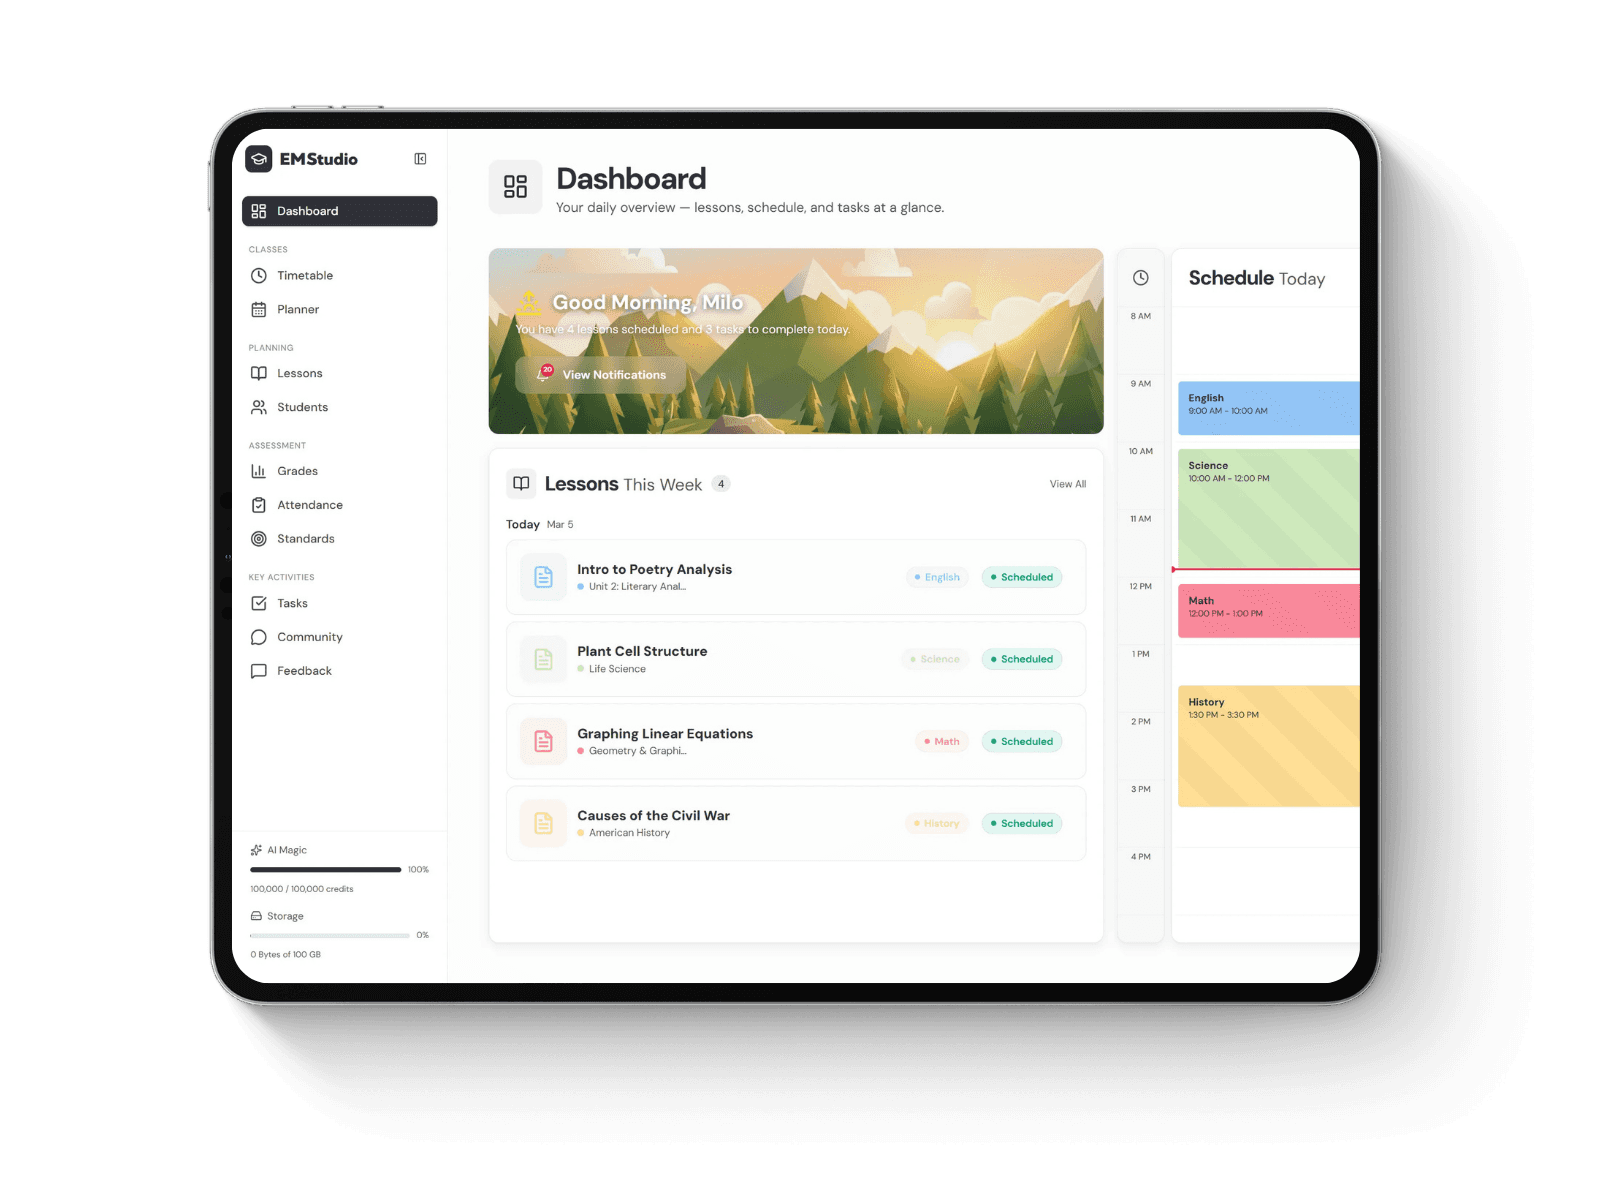
Still grading everything by hand?
EMStudio is a free teaching management app — manage your classes, students, lessons, and more!
Learn More
Table of Contents
Map your space and flow first
Sketch the layout before moving furniture. Plan how students will enter, reach supplies, move between activities, and leave during an emergency.
Clear paths and sightlines
Accessible routes generally require at least 36 inches of clear width, but doorways, turning spaces, and local requirements can differ. Ask facilities staff to confirm that your layout meets accessibility and fire-safety requirements.
Keep exits, exit signs, and routes unobstructed. Check that backpacks, pulled-out chairs, and decorations won't block the way.
Seat for the task
Match the layout to the activity. Rows or a semicircle can support independent work and direct instruction; clusters can support collaboration. Adjust for students' mobility, vision, hearing, and learning needs. School-approved floor tape can mark furniture positions for easier resets.
Create smart zones

Give each activity a clear home. Keep shared materials within reach without creating bottlenecks around shelves or doorways.
Teaching station and tech hub
Put your desk near an outlet so cords stay short and out of walkways.
Label cables: projector, document camera, speakers.
Keep a spare HDMI cable and any required USB-C adapter in one labeled pouch. Check that they fit your devices.
Student supply station
Put shared pencils, paper, sharpeners, and tissues on an accessible shelf with a marked return bin. Label bins with a word and a picture so students can reset the station themselves. If the room is short on shelving, cubbies, or working sharpeners, ask purchasing staff about approvedequipment for schools from a supplier such as School Fix.
Library or quiet corner
Ask facilities staff to secure bookcases and other tip-prone furniture according to the manufacturer's instructions. Use a rug that lies flat without curled edges. Keep supply and return vents clear, and don't place shelves where they block airflow.
Hygiene and everyday health
Build simple routines for handwashing and cleaning. Follow school health policies and ask the nurse about illness-related questions.
Hand hygiene
Teach students to wash with soap and water for at least 20 seconds.
When soap and water aren't available, use sanitizer with at least 60% alcohol. Store it out of children's reach and supervise use as appropriate.
Check soap and paper towels regularly, and report shortages promptly.
Share the school's illness and return-to-class policies with families. Requirements vary by illness, so don't use one rule for every situation.
Cleaning basics
Use only school-approved products, follow label directions, and keep chemicals locked away from students. Agree with custodial staff on who cleans shared surfaces and how often. Follow device manufacturers' instructions when cleaning tablets and other electronics.
Safety and emergency-ready kit
Use your school's emergency plan to guide supplies, storage, and staff responsibilities. Know what you should carry and what the school provides elsewhere.
First-aid basics
Common supplies include adhesive bandages, gauze, dressings, disposable gloves, and an emergency blanket. Confirm the contents with the school nurse, add the nurse's extension, and check expiration dates each semester. Follow school procedures for injuries and medication.
Classroom go-bag
Follow the district's go-kit checklist. Typical items include a current roster, emergency contacts, essential medical alerts, a flashlight, and basic first-aid supplies. Keep confidential information secure but accessible to authorized staff. Include water, snacks, or other supplies only as directed by the plan, accounting for allergies. Assign responsibility for restocking and updating documents.
Exits and equipment
Keep exit doors and their approach areas clear. Locate the nearest automated external defibrillator (AED) and any emergency epinephrine available at school. Review emergency response procedures, including whom to contact and who is trained to use the equipment.
Day-one tech checks
Logins and displays
Log in to your roster, learning management system, and gradebook from the classroom computer.
Run a short projector and document camera test with the lights on. Check readability from the back row, and use high-contrastclassroom slides so text doesn't wash out on the projector.
Play a short clip to confirm that the speakers work and the volume is clear throughout the room.
Backup plan
Print a short opening activity and a substitute lesson plan, and keep them in a clearly labeled folder. Store a spare presentation-remote battery with your cables and adapters. Ask facilities staff to resolve power or cable-routing problems rather than running extension cords across walkways. Keep a simple inventory in the planner or spreadsheet you already use.
Stock the essentials (then the nice-to-haves)
Stock for week one first. Other purchases can wait until you know which materials students use most and which supplies the school already provides.
Must-haves for week one
Dry-erase markers and an eraser
Sticky notes, pencils, and lined paper
Tissues and school-approved painter's tape
Folders, a clipboard, and a timer
Labels and a marker for bins
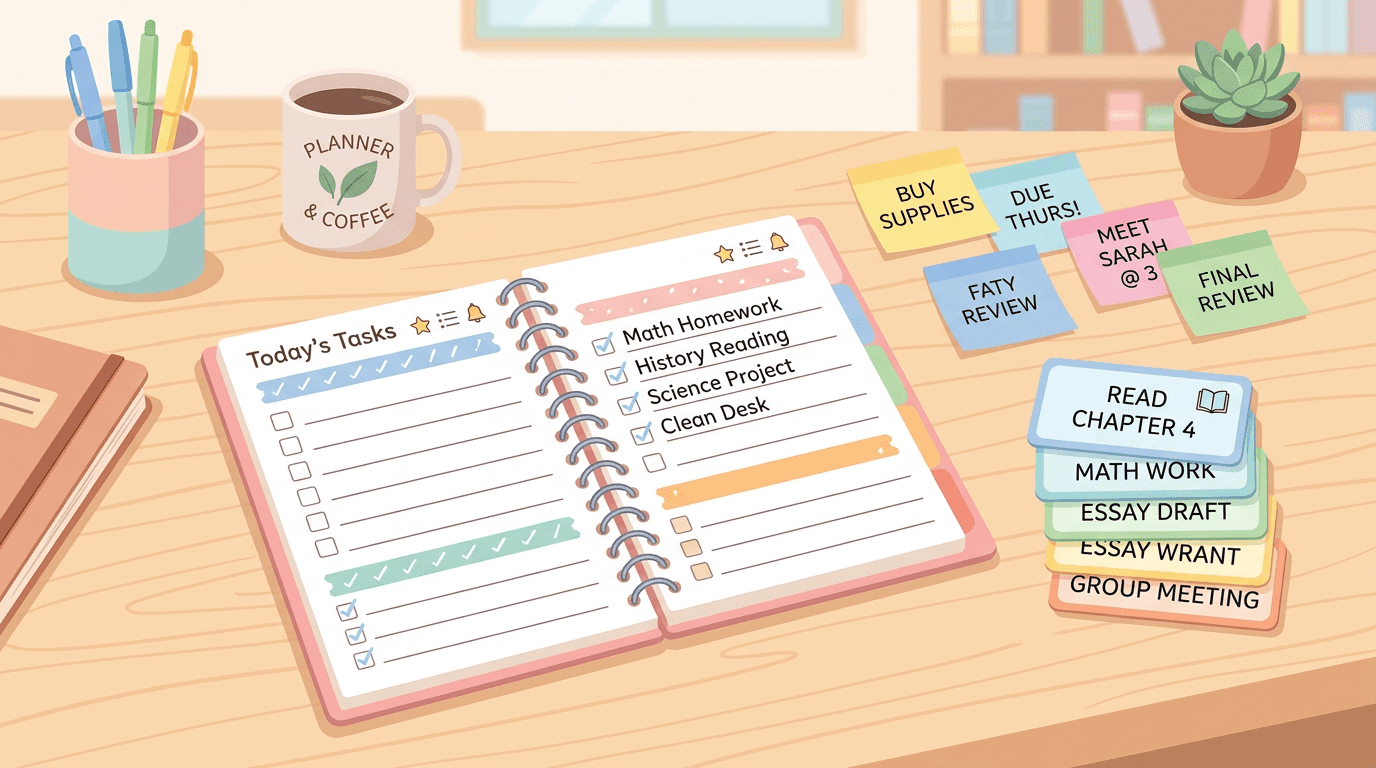
Keep your teaching supplies in one caddy so you aren't hunting mid-lesson. Check the school supply closet and purchasing or reimbursement rules before spending your own money. A simple checklist can help you track your classroom supplies before Monday.
Sourcing replacements and larger items
Sooner or later something breaks: a chair glide, a locker latch, a cafeteria table component, or a restroom stall hinge. Start with your district storeroom and maintenance office. They may have spares or know what's already on order. Keep damaged items out of use when they pose a hazard, and leave repairs to authorized staff.
Record the manufacturer, model, and part number or SKU from the item or original invoice. A photo of the damaged component can help maintenance staff identify it. An exact match reduces the risk of ordering an incompatible replacement.
For approved purchases, specialist school suppliers group products into categories such as furniture replacement parts, restroom partition hardware, and locker components, helping maintenance staff narrow their search. A quote option can support planning for larger orders. Confirm dimensions, compatibility, shipping costs, and district purchasing requirements before ordering.
Keep it simple and reset weekly
Prioritize clear paths, working teaching tools, accessible supplies, and an emergency kit you can locate quickly. Block ten minutes each Friday to restock, reset the supply station, and record repair needs. Keep model and part numbers in your inventory so maintenance can check district spares or find matching options through outside suppliers.
Frequently asked questions
Use these quick checks when setup time is limited.
What should I do first when time is short?
Clear exits and aisles, confirm access to emergency supplies, test your teaching display, and set up the supply station. Decorations can wait.
Map your space and flow first
Sketch the layout before moving furniture. Plan how students will enter, reach supplies, move between activities, and leave during an emergency.
Clear paths and sightlines
Accessible routes generally require at least 36 inches of clear width, but doorways, turning spaces, and local requirements can differ. Ask facilities staff to confirm that your layout meets accessibility and fire-safety requirements.
Keep exits, exit signs, and routes unobstructed. Check that backpacks, pulled-out chairs, and decorations won't block the way.
Seat for the task
Match the layout to the activity. Rows or a semicircle can support independent work and direct instruction; clusters can support collaboration. Adjust for students' mobility, vision, hearing, and learning needs. School-approved floor tape can mark furniture positions for easier resets.
Create smart zones
Give each activity a clear home. Keep shared materials within reach without creating bottlenecks around shelves or doorways.
Teaching station and tech hub
Put your desk near an outlet so cords stay short and out of walkways.
Label cables: projector, document camera, speakers.
Keep a spare HDMI cable and any required USB-C adapter in one labeled pouch. Check that they fit your devices.
Student supply station
Put shared pencils, paper, sharpeners, and tissues on an accessible shelf with a marked return bin. Label bins with a word and a picture so students can reset the station themselves. If the room is short on shelving, cubbies, or working sharpeners, ask purchasing staff about approvedequipment for schools from a supplier such as School Fix.
Library or quiet corner
Ask facilities staff to secure bookcases and other tip-prone furniture according to the manufacturer's instructions. Use a rug that lies flat without curled edges. Keep supply and return vents clear, and don't place shelves where they block airflow.
Hygiene and everyday health
Build simple routines for handwashing and cleaning. Follow school health policies and ask the nurse about illness-related questions.
Hand hygiene
Teach students to wash with soap and water for at least 20 seconds.
When soap and water aren't available, use sanitizer with at least 60% alcohol. Store it out of children's reach and supervise use as appropriate.
Check soap and paper towels regularly, and report shortages promptly.
Share the school's illness and return-to-class policies with families. Requirements vary by illness, so don't use one rule for every situation.
Cleaning basics
Use only school-approved products, follow label directions, and keep chemicals locked away from students. Agree with custodial staff on who cleans shared surfaces and how often. Follow device manufacturers' instructions when cleaning tablets and other electronics.
Safety and emergency-ready kit
Use your school's emergency plan to guide supplies, storage, and staff responsibilities. Know what you should carry and what the school provides elsewhere.
First-aid basics
Common supplies include adhesive bandages, gauze, dressings, disposable gloves, and an emergency blanket. Confirm the contents with the school nurse, add the nurse's extension, and check expiration dates each semester. Follow school procedures for injuries and medication.
Classroom go-bag
Follow the district's go-kit checklist. Typical items include a current roster, emergency contacts, essential medical alerts, a flashlight, and basic first-aid supplies. Keep confidential information secure but accessible to authorized staff. Include water, snacks, or other supplies only as directed by the plan, accounting for allergies. Assign responsibility for restocking and updating documents.
Exits and equipment
Keep exit doors and their approach areas clear. Locate the nearest automated external defibrillator (AED) and any emergency epinephrine available at school. Review emergency response procedures, including whom to contact and who is trained to use the equipment.
Day-one tech checks
Logins and displays
Log in to your roster, learning management system, and gradebook from the classroom computer.
Run a short projector and document camera test with the lights on. Check readability from the back row, and use high-contrastclassroom slides so text doesn't wash out on the projector.
Play a short clip to confirm that the speakers work and the volume is clear throughout the room.
Backup plan
Print a short opening activity and a substitute lesson plan, and keep them in a clearly labeled folder. Store a spare presentation-remote battery with your cables and adapters. Ask facilities staff to resolve power or cable-routing problems rather than running extension cords across walkways. Keep a simple inventory in the planner or spreadsheet you already use.
Stock the essentials (then the nice-to-haves)
Stock for week one first. Other purchases can wait until you know which materials students use most and which supplies the school already provides.
Must-haves for week one
Dry-erase markers and an eraser
Sticky notes, pencils, and lined paper
Tissues and school-approved painter's tape
Folders, a clipboard, and a timer
Labels and a marker for bins
Keep your teaching supplies in one caddy so you aren't hunting mid-lesson. Check the school supply closet and purchasing or reimbursement rules before spending your own money. A simple checklist can help you track your classroom supplies before Monday.
Sourcing replacements and larger items
Sooner or later something breaks: a chair glide, a locker latch, a cafeteria table component, or a restroom stall hinge. Start with your district storeroom and maintenance office. They may have spares or know what's already on order. Keep damaged items out of use when they pose a hazard, and leave repairs to authorized staff.
Record the manufacturer, model, and part number or SKU from the item or original invoice. A photo of the damaged component can help maintenance staff identify it. An exact match reduces the risk of ordering an incompatible replacement.
For approved purchases, specialist school suppliers group products into categories such as furniture replacement parts, restroom partition hardware, and locker components, helping maintenance staff narrow their search. A quote option can support planning for larger orders. Confirm dimensions, compatibility, shipping costs, and district purchasing requirements before ordering.
Keep it simple and reset weekly
Prioritize clear paths, working teaching tools, accessible supplies, and an emergency kit you can locate quickly. Block ten minutes each Friday to restock, reset the supply station, and record repair needs. Keep model and part numbers in your inventory so maintenance can check district spares or find matching options through outside suppliers.
Frequently asked questions
Use these quick checks when setup time is limited.
What should I do first when time is short?
Clear exits and aisles, confirm access to emergency supplies, test your teaching display, and set up the supply station. Decorations can wait.
Still grading everything by hand?
EMStudio is a free teaching management app — manage your classes, students, lessons, and more!
Learn More
Still grading everything by hand?
EMStudio is a free teaching management app — manage your classes, students, lessons, and more!
Learn More



Notion4Teachers
Notion templates to simplify administrative tasks and enhance your teaching experience.



2026 Notion4Teachers. All Rights Reserved.
Notion4Teachers
Notion templates to simplify administrative tasks and enhance your teaching experience.
2026 Notion4Teachers. All Rights Reserved.
Notion4Teachers
Notion templates to simplify administrative tasks and enhance your teaching experience.
2026 Notion4Teachers. All Rights Reserved.